|
Appliqué Embroidery
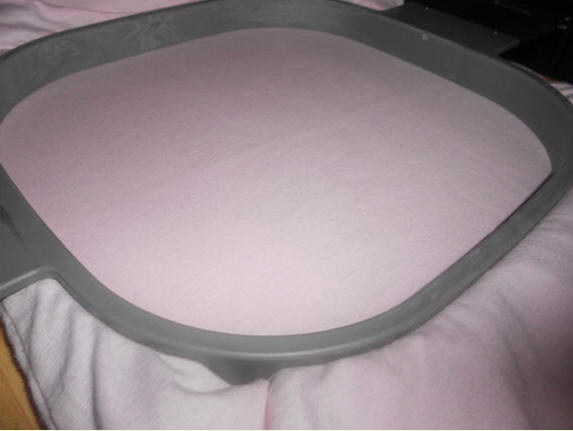
Prepare your garment for embroidery by
stabilizing and hooping. I am using a T-shirt in this example, so I have
stabilized it with a medium weight cut away stabilizer. I do not recommend
using anything other than cut away stabilizer on knits. Tear away stabilizer is
nice because it can be removed after embroidery, but it will not provide enough
support for an applique design.
Note: I like to mark the center of
my t-shirts by folding in half lengthwise and then pressing a crease with my
iron.
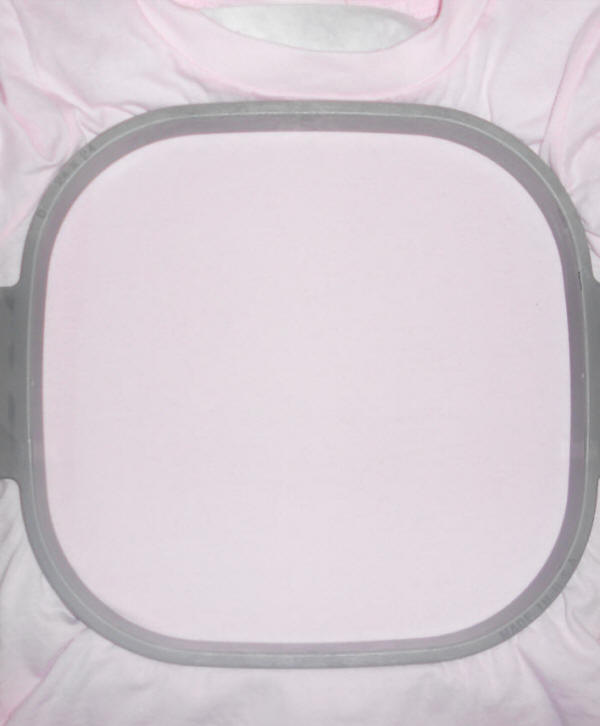
The t-shirt and stabilizer are smooth and
secure, but not drum-tight. Hooping too loosely or tightly can cause puckering
and design shifting.
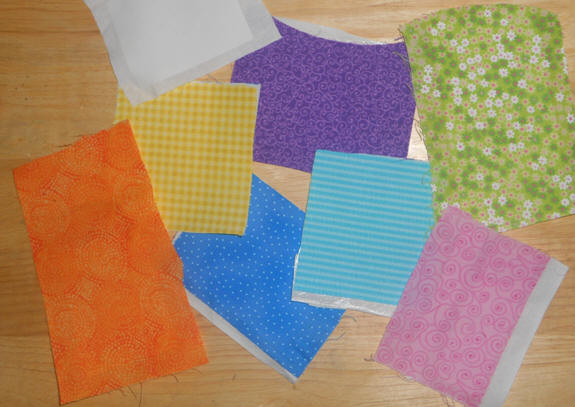
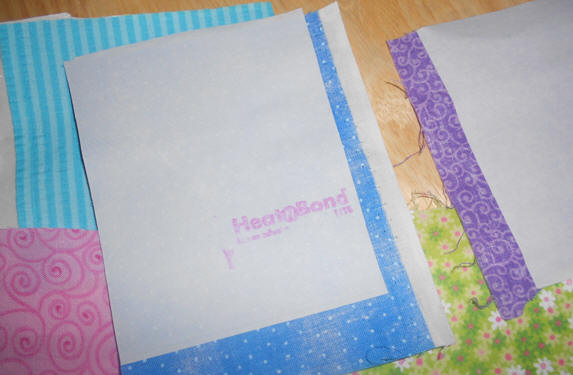
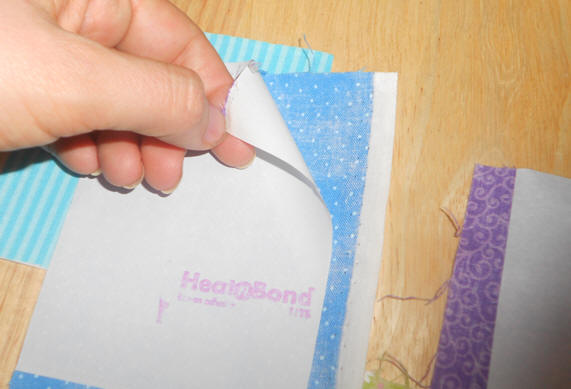
Prepare your fabric by applying Heat-N-Bond
Lite (LITE-VERY important to not use regular Heat-N-Bond as it is too thick and
the adhesive will gum your needle)
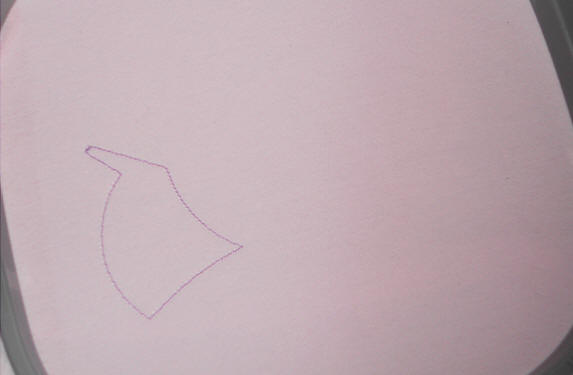
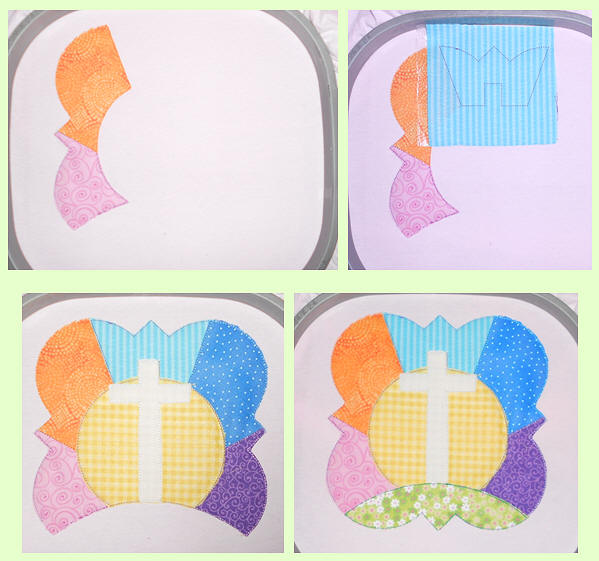
With most applique designs, the first step
will show you where to place the fabric. It’s a good idea to have a copy of the
design’s color chart to reference while you are stitching.
Peel the protective paper off of the fabric
that has been backed with Heat-N-Bond LITE and place it on top of the stitches,
making sure that you cover the entire area.
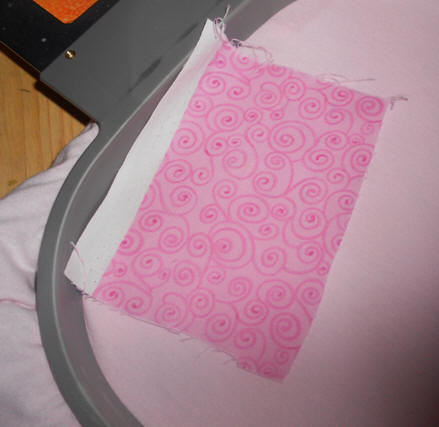
The next step that your machine will stitch
will go right over the fabric and will hold the applique fabric in place so you
can trim it.
Remove your hoop from your machine but DO
NOT remove the T-shirt from the hoop.
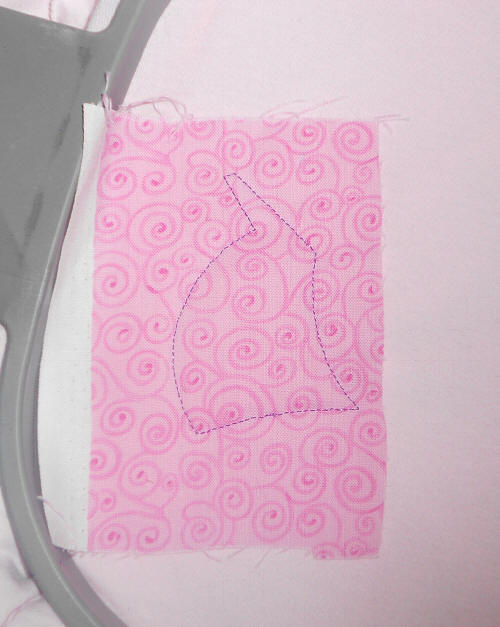
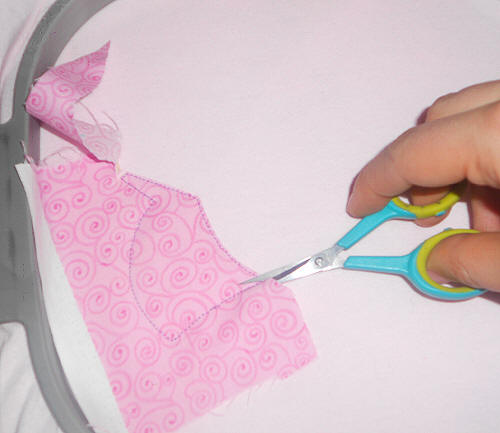
Trim around the fabric, close to the
stitches but not so close that you clip the thread. Small, sharp, curved-top
scissors work well for trimming.
Return the hoop to the machine and repeat
the process for all of the applique pieces in the design.
This particular design has eight fabric
pieces. Some designs only have one. You can refer to the design’s color chart
during stitching to help guide you.
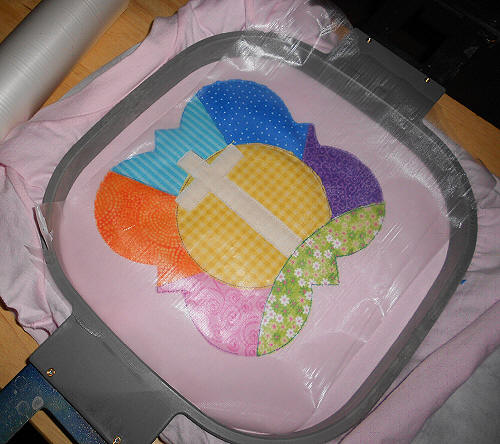
After all of the fabric pieces have been
tacked down, I recommend using a layer of water-soluble stabilizer (WSS) such as
Solvy on top of the design. This is helpful when embroidering on knits, towels,
and other textured materials because it provides a flat surface for the
embroidery to sit on.
Note: Solvy looks like clear plastic
kitchen wrap, but it is not the same so I do not recommend using kitchen wrap or
other household products on your embroidery projects. Stabilizer is
specifically made for embroidery. Plastic wrap can melt under the friction of
the metal embroidery needle moving up and down, which can damage to your machine
and will also void your manufacturer’s warranty.
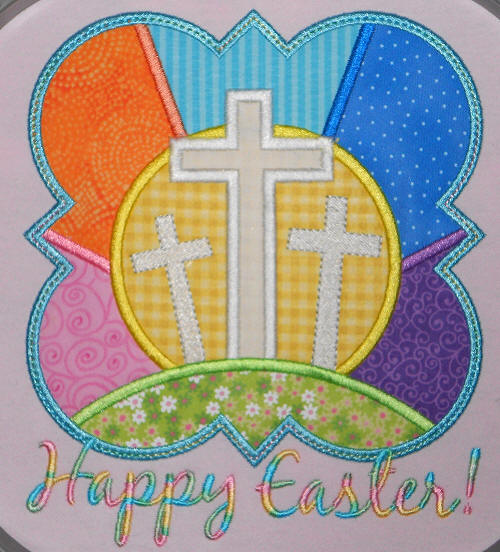
Return the hoop to your machine and resume
stitching. The satin stitches and details will stitch after all of your fabric
has been tacked down and trimmed. Your machine will tell you when to change
thread colors, and you can follow your color chart if you are unsure of what
part of the design will stitch.


Once the design has finished sewing, you can
remove the hoop from the machine and remove the WSS. It should tear away from
the design easily, and tweezers or a pencil eraser work well for removing small
pieces.
|
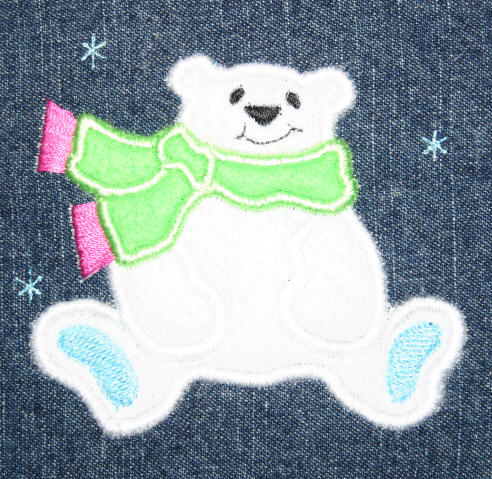
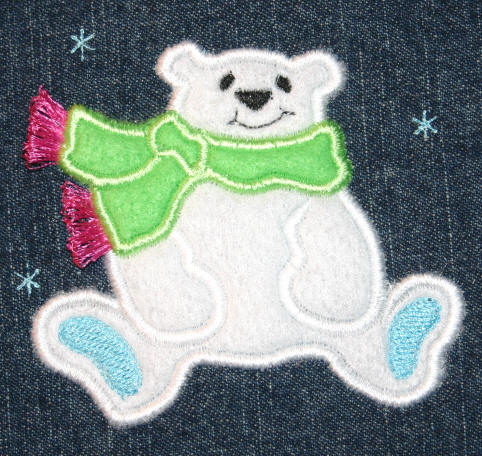
Fringe Embroidery
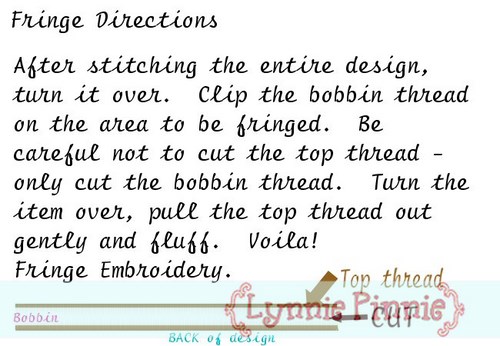
I will use our Polar Bear Fringe design to demonstrate fringe embroidery
step-by-step:
Here is the entire design stitched out. We know that the pink satin
stitches will be fringed.
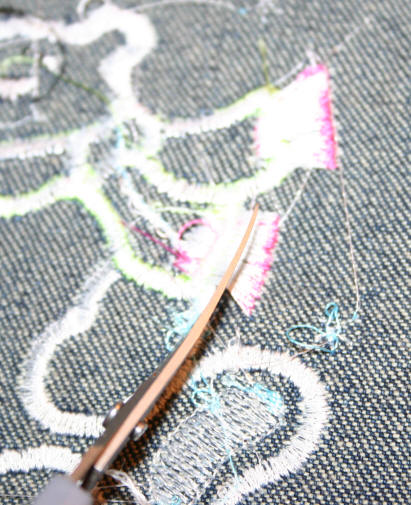
Turn the design over. You can easily see the white bobbin thread behind
the pink satin stitches. We will carefully cut those stitches.

Be VERY careful not to cut the top thread - only the bobbin!
Now turn the design back over and gently pull the top thread through to the
front. Use a BLUNT object.
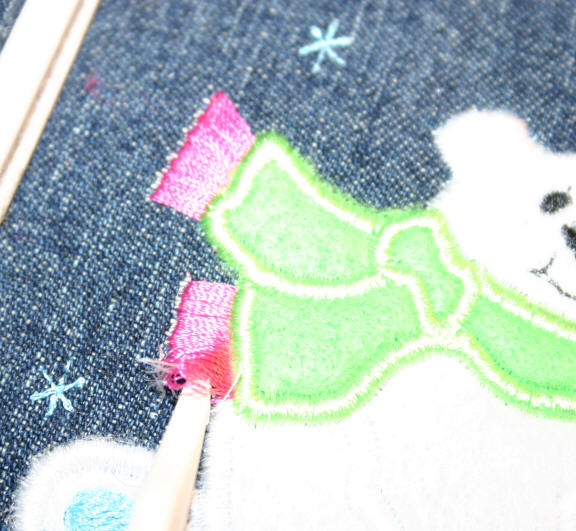
Fluff and you are done!
|
Back to Home Page |