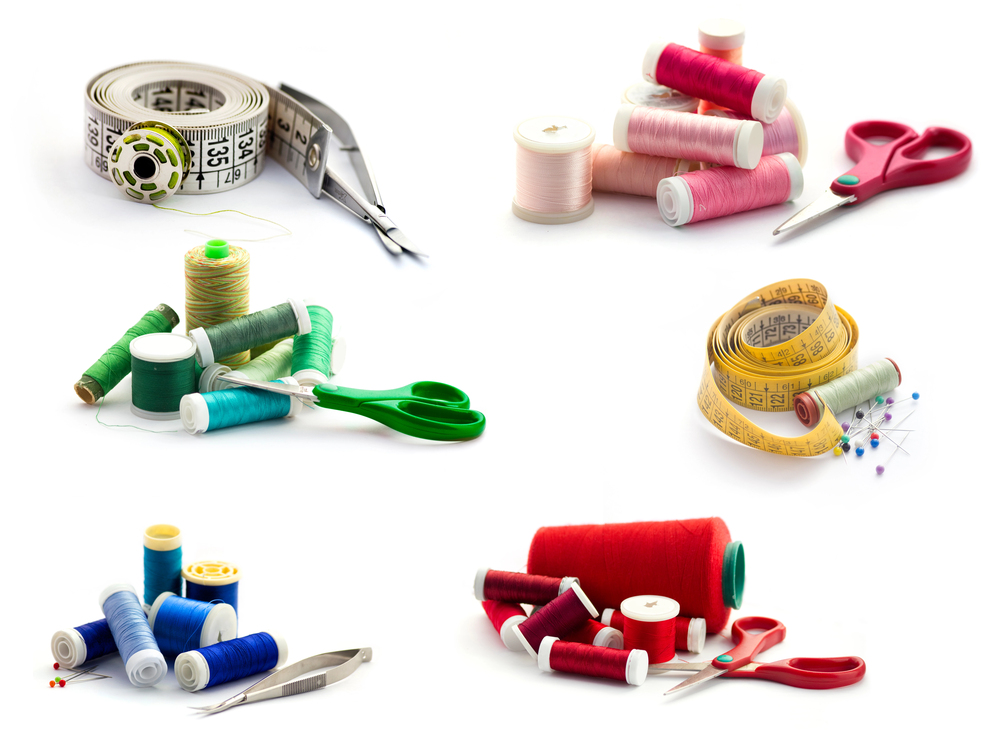
If you were starting from scratch right now and stocking your work room, what are the things you’d absolutely have to have? Each person’s answer would probably vary in details a little bit, one person advocates for one brand over another, the next person doesn’t see a need to a particular item, but there would also probably be a lot of overlap. In this post, I’m going to spotlight the overlap, the tools that the majority of machine embroiderers would agree are necessary.
Tool #1: Applique Scissors – As you can tell from the design catalog, here at Lynnie Pinnie, we like applique. Really like applique. Because we like applique, we’re also fans of applique scissors. For those who aren’t familiar, applique scissors allow for cutting extremely closely to your stiches with being in danger of accidentally cutting threads you don’t want to cut. Definitely a good investment if you like applique.
Tool #2: Needles – I know, you’re all looking at me and shaking your heads in bemusement. “Oh course we need needles, Kristine,” you’re all saying, “you can’t embroider without needles.” And you have a point, but it’s the type and size of needle that can matter. Even if it’s as basic as a ballpoint or a sharp, the type of needle you use and how often it’s changed can have a real impact on your embroidery. So make sure you’ve investigated what needle types are out there and why you might want to use them.
Tool #3: Hoops – Yes, in the hoop projects are fun, but hoops are for much more than that. Most machines come with a few standard hoops, but there are a variety of types of hoops available, some designed for specific types of embroidery, and others made of specific materials. It’s wise to have a variety of hoops on hand, so you can take on any embroidery challenge.
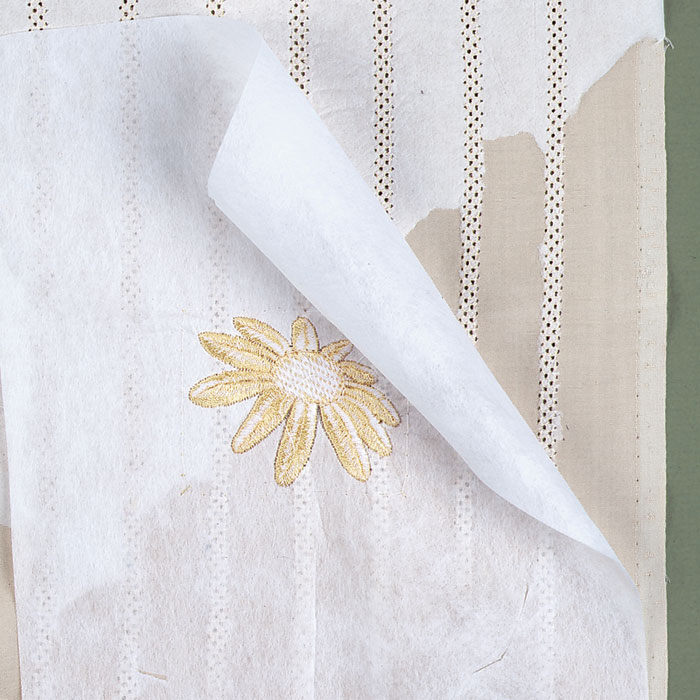
Tool #4: Stabilizer – I wrote an entire book on this subject, so you had to know stabilizer was going to make this list. The thing to remember here is that there are a wide variety of stabilizers available. Some are more all purpose and some are for a specific job. Make sure you have a good array of stabilizers on hand and that you understand how each type should and could be used.
Tool #5: Machine oils and maintenance tools – Conventional wisdom can tell you that it isn’t wise to mess with your embroidery machine, but there’s a difference between messing and maintaining. At the very least, it’s wise to have some machine oil to keep your machine lubricated. A small set of basic tools could also be helpful. Most machines will come with basic instructions for maintenance.
Tool #6: Seam Ripper – No one likes to think about it, but mistakes do happen. Sometimes the stitches that went in have to come out. A seam ripper allows you to pull out the stitches that ended up where they weren’t supposed to be or how they weren’t supposed to be.
Tool #7: Tweezers – Another handy little tool that allows you to grab loose threads, hold threads that need snipping, and weed those hard to reach areas. A good pair of tweezers can help you tidy up a messy applique or grab those pesky jump stitches that need snipping.
Tool #8: Scissors – I know we talked about applique scissors earlier, but they’re not the only sort of scissors that should be in your arsenal. Depending on what you do, you might need dressmakers shears, pinking shears, basic embroidery scissors, curved embroidery scissors or snips. Not to mention all the scissors with pretty colored or patterned handles.
Tool #9: Fabric marking pen – Want to make sure that applique lands in exactly the right place? Enter the fabric marking pen, or pencil or chalk. This is a tool that allows you to mark your spot on your fabric. Most temporary or semi permanent.
Tool #10: Ruler – The unsung and often forgotten hero of the work room. Need to measure a garment for exact placement? You need a ruler. Need to cut a straight edge for applique? Ruler. Cutting pieces of fabric to exact dimensions for a quilt? Ruler.
While this isn’t an exhaustive list of every tool that a machine embroiderer might need, we think it’s a good start. If you think we missed something, leave us a comment and let us know!