Fun With Fonts

If you’ve spent even a little bit of time on the Lynnie Pinnie site, you may have noticed we offer a lot of fonts. When I first thought about writing this post, I considered going into the history of fonts and how they’ve changed over the centuries, which led me to the history of printing, and the changes in how the printing process worked and the machines that were used and suddenly I was down a rabbit hole of learning about printing. It was interesting, but not exactly applicable to what we’re doing here. So, I decided, instead, to talk about the types of fonts Lynnie Pinnie offers, and where and why you might want to use them.

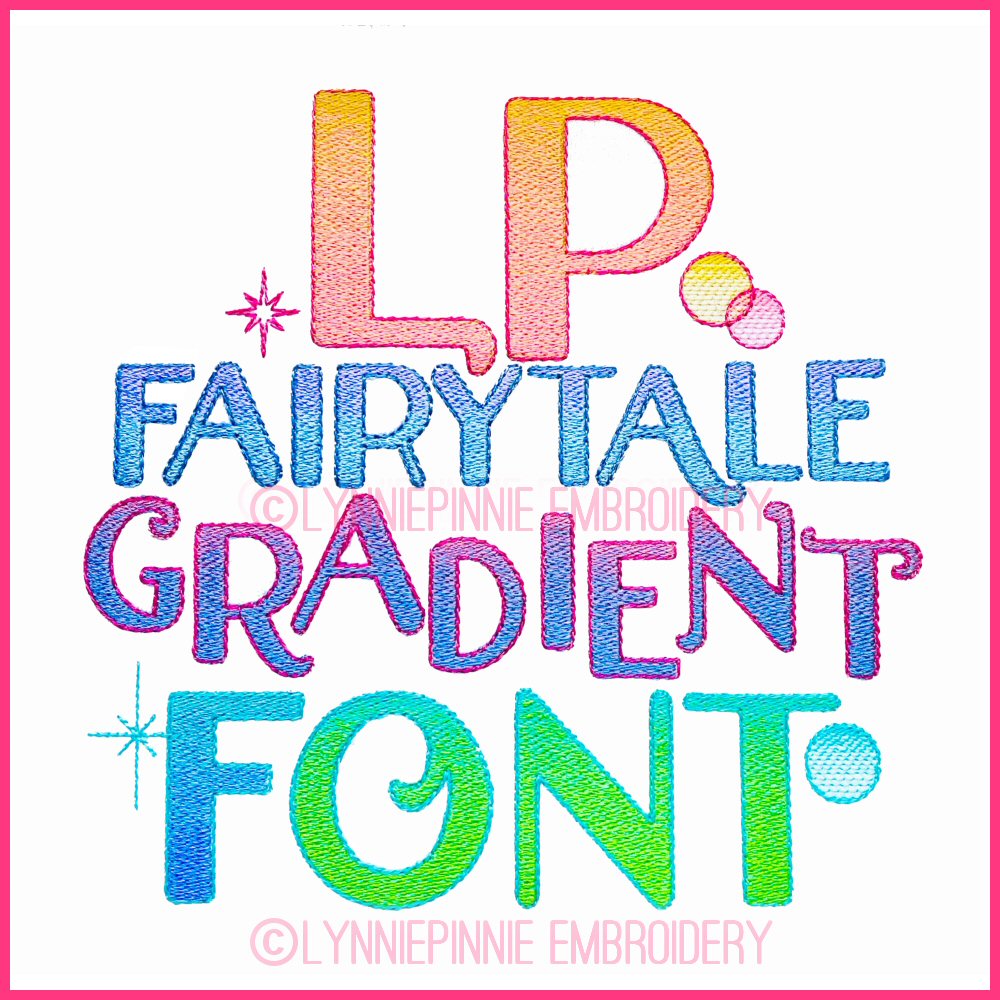
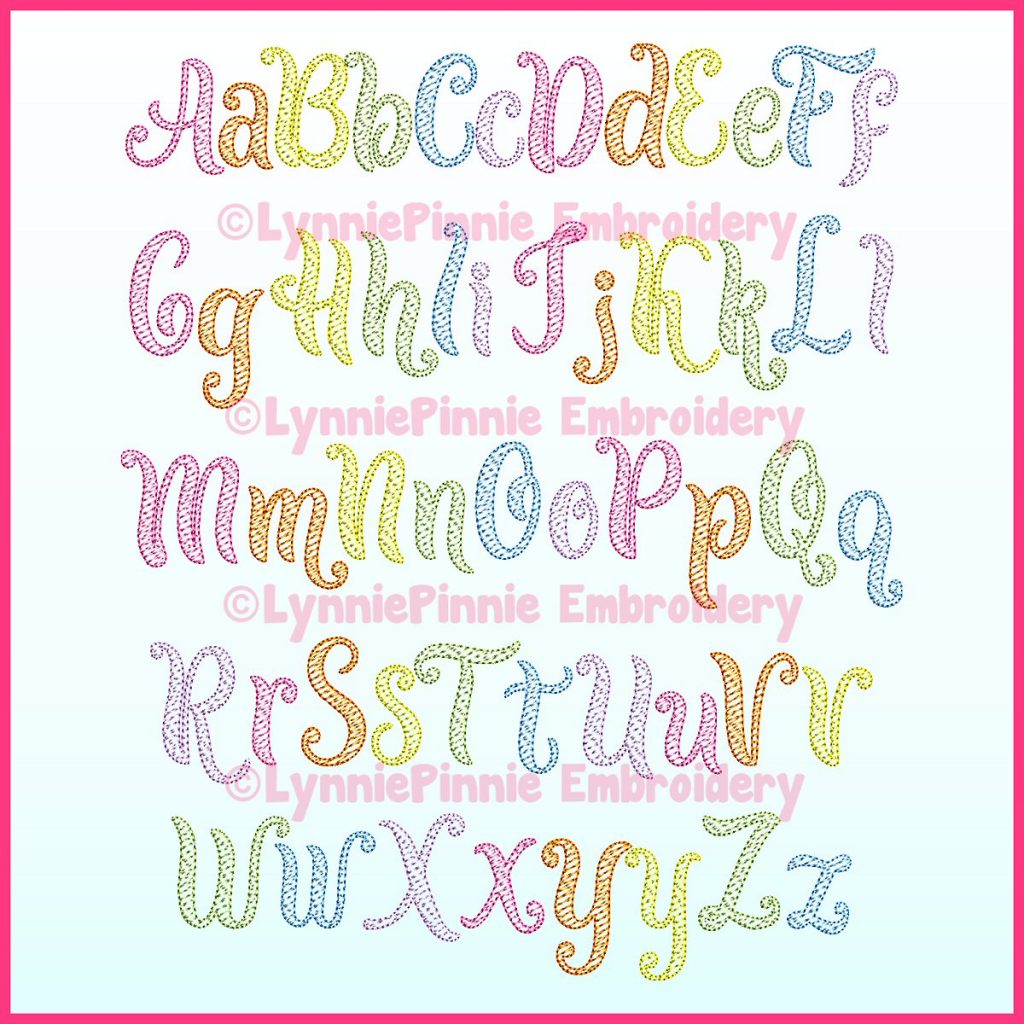
Let’s start first with the Native BX fonts. These fonts are scalable, object based fonts that can be resized without distortion using Embrilliance platform products. Lynnie Pinnie has, to our knowledge anyway, one of the more extensive collections of Native BX fonts, and a wide variety of selections within that one category. Whether you’re looking for something fancy (hello, gradient script font) or something simple like a chain stitch, we have you covered.

Next up we have our Sketch and Triple Run Fonts. A lot of these fonts look very similar to hand stitching. Most of you may already know this, but sketch fill has a lighter density and fill then a regular fill stitch. The fonts are designed to let a bit of the cloth show through. This is fun if you’re doing an applique with or embroidering on a piece of a amazing fabric and you want the pattern or color of the fabric to show through a little more. Some of my favorite fonts in this category include The Fighter Chain Stitch and the Whimsy Doodle font.

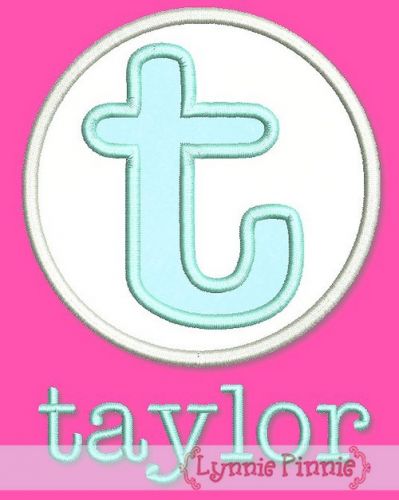
One of the things Lynnie Pinnie is known for is applique designs (the founder of Lynnie Pinnie is also the founder of Applique Getaway, after all) and applique fonts. These type of fonts, as the name implies, are fonts that are designed to be used as appliques. You can use these fonts for monograms, for birthday shirts, really for almost anything for which you’d use a stitched out font. The difference in these fonts is that they include fabric, which allows you to vary their appearance based on the type of fabric you use. The applique also gives a slightly more 3-D appearance and makes the font stand out a bit more. These fonts are a fun change of pace and allow you to do something a little different with lettering.

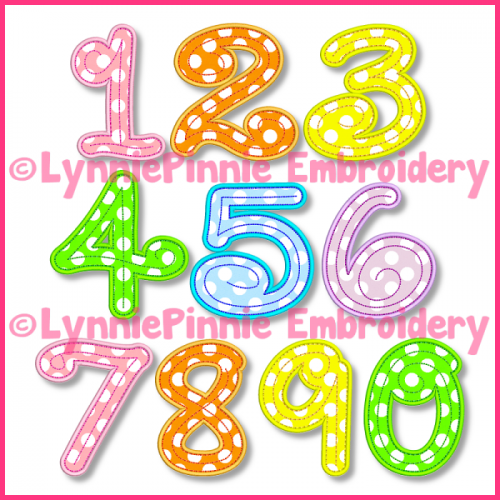
Finally, let’s talk about the number fonts. A lot of these are applique, which makes them perfect for use in the monthly pictures of new babies a lot of people now take. You’ve all seen those, where a baby is posed on a quilt or with pillows or something that shows their age so you can record the progress as the child grows. These number fonts are also great for embroidering shirts for the first day of school, creating a shirt for the birthday boy or girl, or even creating a cute team shirt for your little t-baller or soccer player. Most of these fonts are applique as well, so you have the chance to make them unique by varying the fabric.

Choosing the Right Stabilizer

The correct stabilizer can have a huge impact on whether or not a job succeeds or fails. Of course, we all know that specific embroiderer who only uses one type of stabilizer for every job regardless of fabric or design, and does well. In most cases, however, a the right combination of stabilizer, fabric and design is necessary for embroidery to proceed smoothly and for the finished product to look its best. Choosing the correct stabilizer can make your production faster, your sew-out run more smoothly and your finished product look better. Because the decision of which stabilizer to use for a particular job can have such an impact, it seems only right to provide some tips on how to choose.

Let’s start with the types of stabilizer. At the most basic level, your choice will involve either cutaway or tearaway stabilizer. Even if you choose a specialty stabilizer for your project, it will most likely fit into one of those two categories. Because of this fact, knowing when and why you might want to use a particular type is crucial.

We’ll start with tearaway stabilizer. This type, as the name implies, tears away, so it is often easier and faster to remove. If you have a job with time constraints, where cutting away a stabilizer might take too much time, tearaway stabilizer may be a good option.

Cutaway stabilizer, as a general rule, has less stretch to it than tearaway, which makes it the preferred option for performance wear or other types of stretchy fabrics. Cutaway stabilizer may also be a good choice for delicate fabrics when pulling hard enough to tear a tearaway stabilizer away would perhaps cause damage to the fabric itself.

Your choice of stabilizer should take into account the following things:

  • The qualities of the fabric
  • Requirements of the design
  • Time available

The right stabilizer choice should improve both your sew-out and your production time, as well as reducing the amount of effort and time needed to make the final product look its best.

The second thing to consider is stabilizer weight. No one likes the look of a stitch-out that is extremely stiff or weighed down with a huge wad of backing. The general rule is that light weight fabrics should be stabilized by a light weight stabilizer, and heavier fabrics with a heavier stabilizer. The ultimate goal is to find a stabilizer that will stabilize the stitch-out without weighing down or distorting the fabric.

Don’t neglect the fact that the selection of a stabilizer can have a huge impact on how the design works. Specialty stabilizers are designed to work in particular situations and with particular types of fabric, so don’t pass over those options when selecting a stabilizer to use. A specialty stabilizer can have a great impact on how well a design runs and the appearance of the design when it is completed. Some specific specialty backings that should be considered in specific situations include:

  • Poly Mesh (Also called No Show Mesh) can be a useful option for polos and lightweight fabrics.
  • Fusible Poly Mesh (Also known as Cloud Cover) is useful for covering the back of an embroidered design to avoid scratching sensitive skin. It can also be useful for mitigating the stretching of performance wear.
  • R2000 (Also known as Action Back) (a polypropylene stabilizer) is designed to work with performance wear and to counter the problem of stretching.
  • Adhesive stabilizer (Also known as Sticky Back, Sticky or Peel N Stick) is useful for items that are too small to hoop on their own. It can also be used with performance wear to counter the stretching of the fabric.
  • Water soluble topping (Also knows as Solvy or cutaway/washaway) can be used as a topping or a backing. Water soluble can help monograms and other embroidery stand out on fleece or towels. Badgemaster is a useful option for patches. Cutaway/washaway is the perfect option if you want to make freestanding lace.

As has been noted previously, some embroiderers can go their entire careers and use only one type of stabilizer, and that may work for some people. The question is, why would you resist using all the options available? Specialty stabilizers have a variety of functions and qualities that may contribute to the smoother running of your jobs and faster production times. They can also offer the possibility of a higher quality finished design. It is true that the cost of some of the specialty stabilizers may be slightly higher, the end result will be well worth the slightly higher expense.

Stabilizer is the foundation on which everything else contained in an embroidery design is built. Just as you wouldn’t build your house on a quicksand or a volcano, don’t build your embroidery with a stabilizer that can’t stand up to the requirements of the job. Choose your stabilizer with care and after giving thought to the requirements of the fabric and the stitch-out. Taking the time to make an informed and educated decision will ensure that your final choice will be a stabilizer that can meet the requirements of your design and product schedule.

3 Summer Fashion Trends

We all know trends change. What was fashionable last year, may not be fashionable this year, and that’s just something with which we have to roll. Also, being fashionable isn’t something that concerns everyone. Some people are just comfortable going with the tried and true or classic option. Still, fashion can be fun, and keeping up wtih the trends can add some interest and spice to your wardrobe. Adding a trendy piece of decoration can also help upcycle a piece of clothing that may be from seasons past. While Lynnie Pinnie isn’t ncessarily about fashion, we do have some designs that will help you keep up with the trends for Summer 2023.

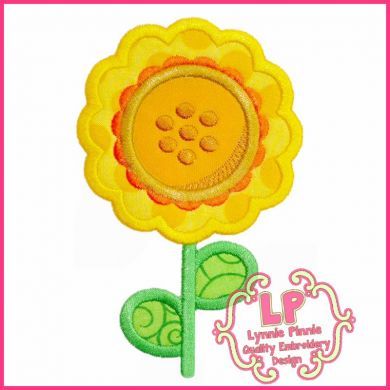
Florals – Floral patterns and floral motifs are big for Summer 2023. Some are even taking a three dimensional role. If florals are your thing, Lynnie Pinnie is more than prepared to help. Whether it’s an appliqued sunflower or a monogram frame with a perfect rose, we have options for you when it comes to floral designs.

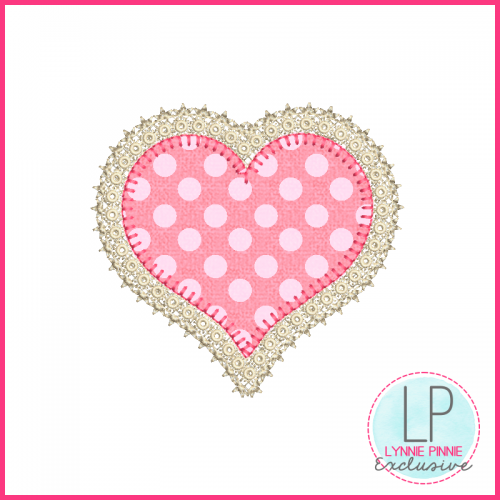
Heart Motifs – They say home is where the heart is, but this summer fashion seems to be where the heart is as well. Heart motifs are popping up on everything, as part of fabric design or added to hemlines. They appear to be particularly popular on dresses. Luckily, if you want to put your heart into your work (see what I did there?) Lynnie Pinnie has you covered with a variety of heart designs.

Mermaid Theme – The live action “The Little Mermaid” coming out this year seems to have inspired an interest in mermaid style clothing. Either in the design or the decoration of the clothing. Lynnie Pinnie has long been a fan of the mermaid and has a variety of designs that will allow you to add a mermaid theme to any piece of clothing. Whether you want a mermaid princess or a mermaid themed monogram frame, we have you covered.

How to stitch Lynnie Pinnie Faux Chenille Fonts and Designs

Supplies needed:

  • Purchase this font and other chenille fonts and designs HERE
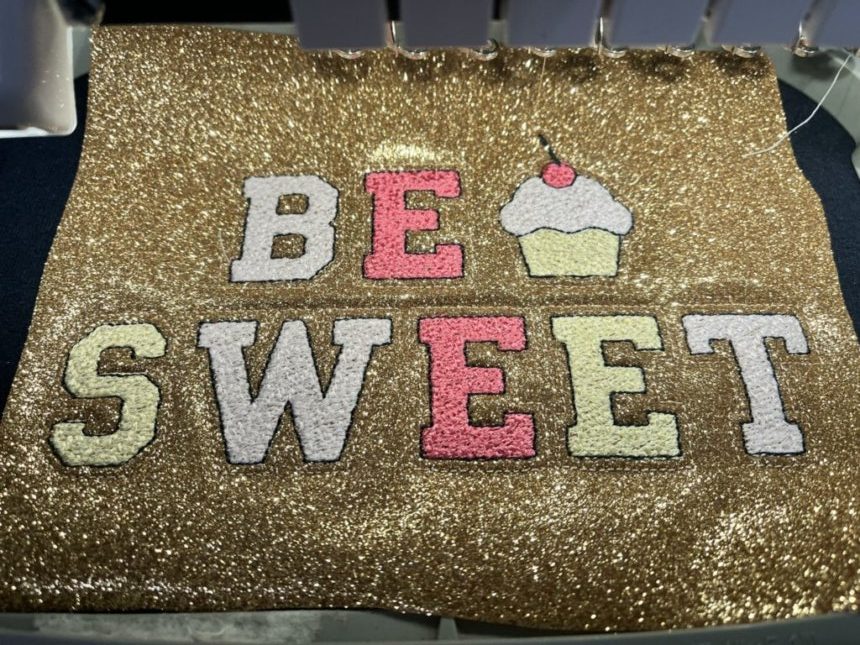
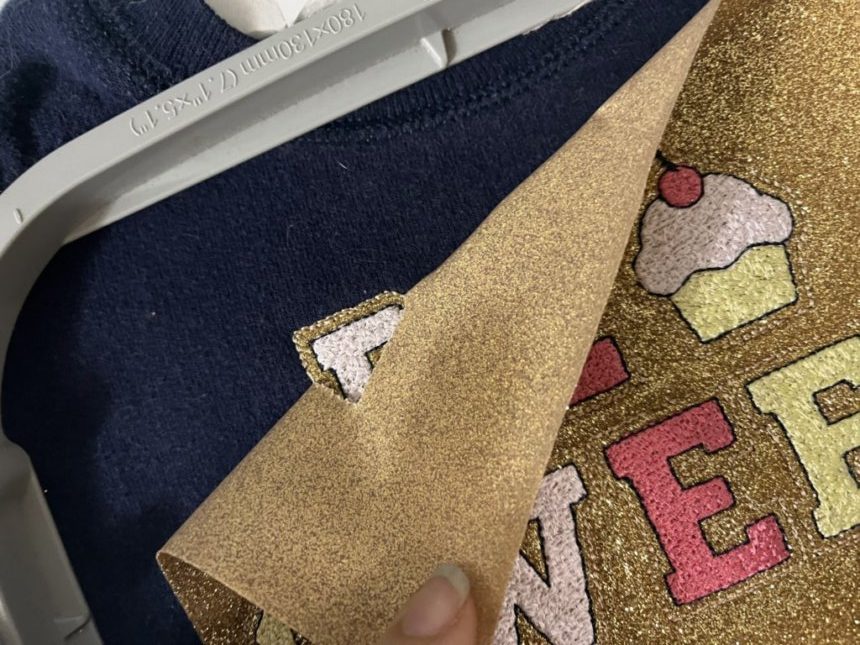
  • HTV: Heat transfer vinyl (Cricut brand iron on was used in this sample – available in many big box and craft stores). PEEL OFF PLASTIC CARRIER SHEET BEFORE STITCHING. Glitter and flocked vinyl are the easiest to tear away. We do not recommend smooth.
  • Tape
  • Your choice of embroidery thread, garment or blank, and appropriate stabilizer for your garment or blank. This is a dense font that you will need to stabilize well.
  • Optional – vinyl weeding tool
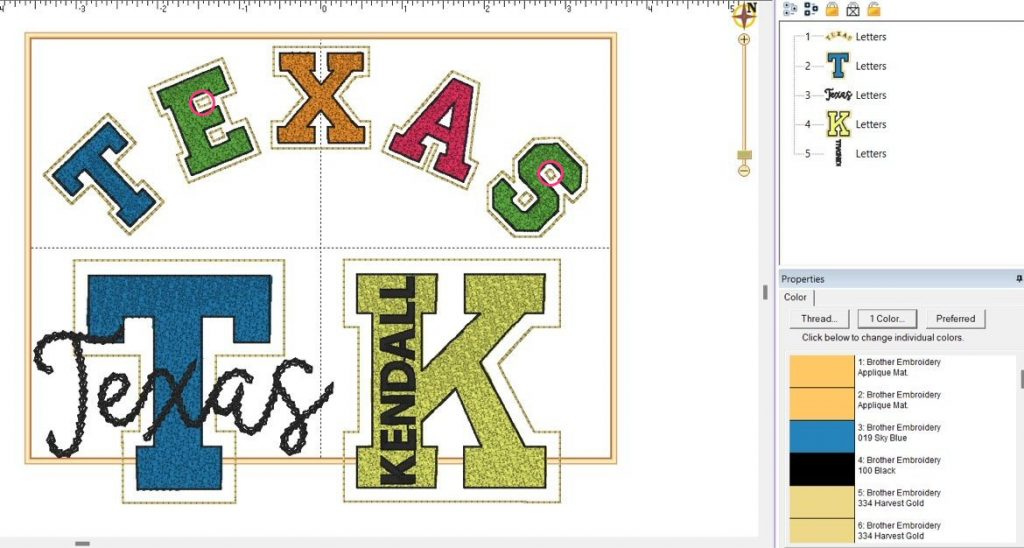
  • Optional – embroidery software. I used Embrilliance Essentials to set up my lettering, color sort my design, and print a template.
Heat Transfer vinyl. You will need to peel away the plastic carrier sheet before stitching.
My printed template and heat transfer vinyl with carrier sheet peeled back.

Let’s get stitching!

I hooped and stabilized my garment, and then stitched step 1, my placement stitch, in a color that closely matches the HTV.

Next, I laid the HTV over the placement stitch, making sure to cover all of the placement stitches. I used a bit of tape to hold it in place because the embroidery machine needle tends to lift and move the HTV. The HTV plastic carrier sheet has been removed.

The next step will be your tack down stitch. I used the same thread color again.

If you are stitching the larger faux chenille designs, stitches will go over the HTV to prevent bubbling so its important that your thread is a close color match.

After the vinyl was tacked down, I used my choice of thread colors for the letters and outlines.

The final stitch will be an outline around the letters. Again, I used a thread color that matches the HTV.

Now for the fun part!

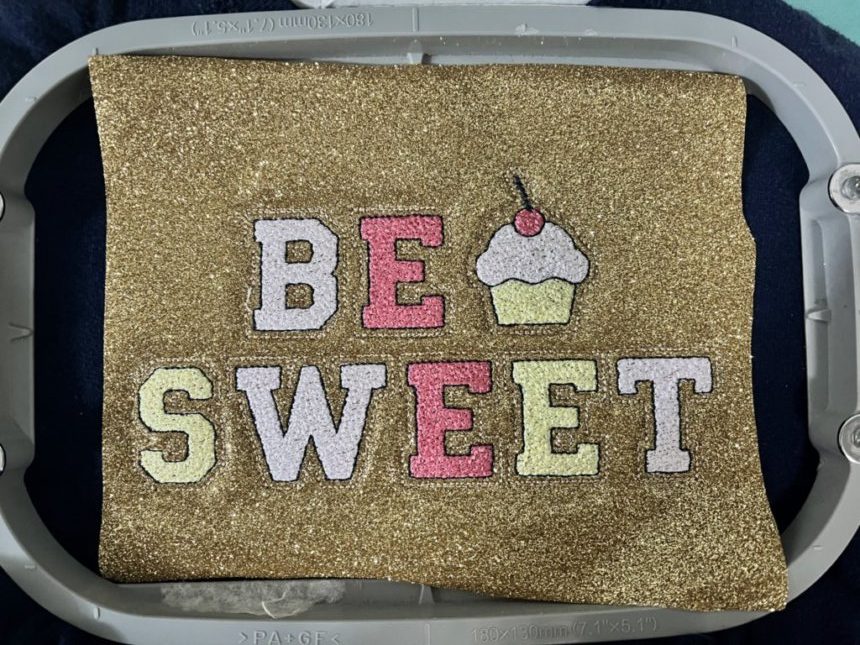
Carefully peel away the excess HTV. You can use a vinyl weeding tool to help with small areas. If you stitch this font in a smaller size, like I did, you can leave the small areas that are inside the holes, for example, inside the letter “E”, or you can weed them out. It’s up to you!

Examples of small areas are circled in pink. Leave them or remove them – your choice!
Excess vinyl pulls away, no scissors or trimming required!

Final step – don’t skip this!

Once you have removed all of the excess vinyl, follow the instructions on the vinyl package to fuse the HTV to your garment or blank with a heat press or iron. USE A TEFLON SHEET OR PRESSING CLOTH TO PROTECT THE EMBROIDERY!

All done!

This font is such a great way to achieve a look that would be otherwise impossible (or at least VERY difficult) in a smaller size. Yes, it is a dense, higher stitch count design but personally, I would rather let the machine stitch this out than try to trim a piece of fabric this small with scissors. NO THANKS!

The stitches lie flat – the faux chenille look is achieved with a unique stitch pattern.

Feel free to Contact Us with any questions.

Happy Stitching!

5 Reasons to Buy from LynniePinnie

When you ask people about LynniePinnie designs, the words you hear used to describe those designs are words like “adorable” or “whimsical” or “magical”. While it’s true that the designs are adorable, and whimsical, and magical, there also many more reasons why purchasing a LynniePinnie design is a good idea.

Reason #1: LynniePinnie Knows Embroidery – Lyndsie Salcido, the designer behind LynniePinnie began as an embroiderer. She knows how to run a machine. She understands the despair of your thread or bobbin running out before the design is finished stitching. Lyndsie has experienced the pain of poorly digitized and conceived designs that stitch out slowly or are sloppy in execution. Because she’s run an embroidery business, she understands that designs need to work, so that the machine can run and profit, or a cute gift for a friend or family member can be made.

Reason #2: LynniePinnie Knows Materials – One of the not so well kept secrets of embroidery is that thread and stabilizer and fabric and design all come together in a marriage that will hopefully create an attractive finished piece. Part of the work of being a good digitizer is understanding how all the separate parts come together and interact. The weight of the fabric matters. The weight of the thread matters. The type of stabilizer used can have an impact. Digitizers who understand more than just how the stitches will be stitched into the substrate are digitizers who will create designs that will run more smoothly and much faster.

Reason #3: LynniePinnie Knows It Matters – When you buy a design, whether it’s something you plan to use on a garment you’ve sold to a client, or if you’re making a new shirt for your daughter or son, you want that design to sew out cleanly and smoothly without errors or issues. Thread breaks, excess stitches, sloppy digitizing that results in a sloppy finished product, all those things waste your time, your supplies and your money. Creating designs that are well digitized takes effort and time, but the end result is a design that sews out how you want it to, when you want it to, and that’s what’s important. Yes, it takes more effort on LynniePinnie’s end, but it puts a better finished product in the hands of our customers, and that’s what counts.

Reason #4: LynniePinnie Knows Creativity – Resting on your laurels is for those who aren’t always trying to be better today than they were yesterday. Lyndsie is continually trying new processes and developing new designs and projects to take machine embroidery to the next level. The goal is always to stay current and to improve on what has come before. LynniePinnie also strives to find new ways to enhance the process of machine embroidery. Same old/same old will never do here. We want to stay on the cutting edge of decoration techniques and embroidery trends, and we make an effort to do so.

Reason #5: LynnniePinnie Loves Digitizing (And Our Customers) – The art and craft of digitizing is not for everyone. It requires a pretty specific skill set. For our designer, Lyndsie, creating a new design is both a challenge and a labor of love, and the designs reflect that love. There’s no sloppiness, no cutting corners, no work that we can’t be proud to offer to you, our customers. Yes, the designs may sometimes cost a little more, and yes, design releases may take a bit more time, but the end result is well worth the effort and the money. While we don’t, as some creatives do, put a “Made with Love” label on each design we sell, the love is still there, in the effort put in to creating the design, and in the care that is taken to make sure the design works at the highest level to meet our customers’ needs.

The History of Mardi Gras

According to the site Mardi Gras New Orleans, the origins of Mardi Gras are centered in medieval Europe, passing through Rome and Venice and landing in France. When the French came to the new world to colonize parts of North America, Mardi Gras came along for the ride. It landed in what would one day become the state of Louisiana, and the first named spot in that state was first called “Pointe du Mardi Gras”. This was in 1699.

By 1718, New Orleans was founded and by 1730, Mardi Gras was celebrated openly. At this time, however, they didn’t celebrate by throwing beads, having giant parades and drinking a lot. Instead, the were very French, and celebrated with elegant and elaborate balls, suitable for a Mardi Gras princess. The affairs were the model for the New Orleans Mardi Gras balls that still continue today.

It wasn’t until 1781 that the first reference to a Mardi Gras “carnival” appeared. By the late 1830s, there were processions with flaming torches and maskers with carriages as well as riders on horseback. In 1856, the Mistick Krewe of Comus was formed, the members of this krewe were always anonymous, and the krewe was known for its elaborate and dazzling floats.

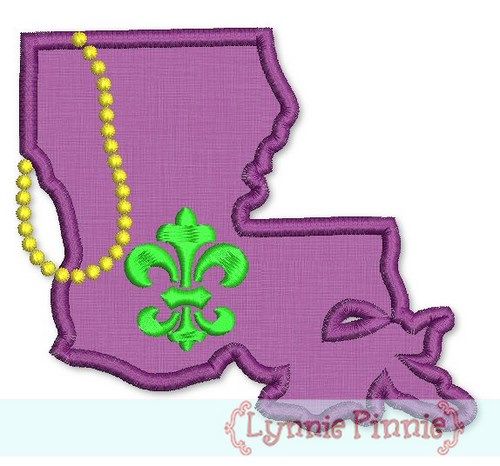
If, for you, the fun of Mardi Gras has always been the “throws” of beads and other items, you would have had to wait until 1870 to get in on that action. The King of Mardi Gras, Rex, would appear for the first time in 1872 and that was also the year that the official Mardi Gras Colors of purple, green and gold were introduced, oddly enough, to honor a Russian Grand Duke.

In 2022, Mardi Gras begins on March 1, so you still have some time to outfit your krewe. Whether you’re catching beads, eating a king cake, or simply like purple, gold and green, Lynnie Pinnie has the Mardi Gras designs you need!

Beginner Machine Embroidery Projects

When you’re just starting out in a new decoration discipline, like, for instance, machine embroidery, everything can be intimidating. You worry about wasting a garment or fabric. There may be some uncertainty about what stabilizer to use. Choosing thread and bobbins may be confusing. For some people, the worry about screwing something up (which happens and is, for most, a normal part of the process) keeps them from ever pressing the start button on their machine at all. Getting the first successful project out of the way can be key to a successful career in machine embroidery. The question is, where to start? This blog post has some suggestions for simple projects that most anyone who is a novice embroiderer should be able to complete fairly quickly and easily.

Project # 1: Towels – Towels generally fall into two categories. The first is kitchen towels, which are usually of a lighter weight fabric and generally will have no or very little pile to them. With a linen – like kitchen towel, it will most likely not be necessary to use a topping, a simple stabilizer will do. If you’re interested in doing a cute set of kitchen towels, Lynnie Pinnie has some cute kitchen themed designs and applique options that would be sure to work for your purposes. The other option for a simple towel project would be monogrammed hand towels for a guest bathroom or a housewarming gift. These sorts of towels will have a pile, so you will need to use both a stabilizer and a topping. Hand towels lend themselves nicely to monograms, and you can find some wonderful monogram frames and fonts here on LynniePinnie.com.

Project #2: Burp Cloths – A burp cloth is another easy project and a useful one as well, either as part of a gift set for a new mother at a baby shower, or as something you can embroidery and sell in your online shop. As with towels, burp cloths aren’t generally difficult to hoop and may or may not have a pile, depending on which type you choose to embroider. If you are embroidering a lighter density design, you may be able to use a tearaway stabilizer. Heavier, more dense designs are going to require poly mesh stabilizer or a cutaway. Remember, you want to be sure your stabilizer can handle the stitches in the design because you want to avoid the design puckering when it’s washed. If you think burp cloths might be your niche, Lynnie Pinnie has a variety of baby themed designs that can keep you happily embroidering burp cloths for quite some time.

Project #3: Baby Blankets – Keeping with our theme of easy baby shower gifts, a monogrammed or embroidered baby blanket is a lovely gift for any mother to be or new baby. While blankets might be a slightly more advanced project, they are still fairly simple and easy to embroider. Karlie Belle, one of the lovely instructors at Virtual Applique Getaway this year, has a wonderful step by step tutorial on how to add a name to a baby blanket, that may be helpful for those who have never done this before. And if you’re looking for some adorable applique options to add to a blanket, Lynnie Pinnie has you covered!

Project # 4: A Winter Scarf – Like most of the projects mentioned in this post so far, scarfs are flat, so they’re fairly easy to hoop. They also tend to be made of a substantial fabric, but not too thick, so hooping shouldn’t be too tricky. Scarves also lend themselves nicely to a monogram for a classic look, or to an applique if you’re inclined to get a bit more fancy. If you’re looking for products to sell at craft fairs or online, scarves can be a good bet there as well. As with the other season, winter themed designs are available from Lynnie Pinnie and will be sure to make your scarf project a success.

The main thing to remember when starting out is that mistakes will happen, and that everyone makes them. Don’t let the fear of screwing up a project keep you from learning all that your machine can do. Find tutorials, ask questions in groups (we’re happy to answer questions and help in the Lynnie Pinnie group) and keep practicing with your machine. You’ve invested the money to buy the machine and the time to learn to use it, so don’t let anything hold you back from creating amazing embroidered items!

Words and Sayings

I’m a writer, so I don’t suppose it’s a surprise that one of the first categories of designs I was attracted to was the words and sayings category. I’m a big fan of the marriage of words and images, and Lynnie Pinnie has some really cute and fun designs that are just that. Since the site also has an enormous back catalog of designs (1600 I believe I was told was the number) posts like this also help point out some applique designs, and design categories, that you might otherwise have missed.

The “Naturally Sweet” and “Berry Adorable” designs take cute fruit to a whole new level. Continuing our theme of cute food, and also a possible adorable Valentine’s Day design, we have the “Sweetie Pie” heart applique. If you feel strongly about eating your veggies, you might want to go for the “Corn Maze Cutie” filled embroidery design. Clearly, at Lynnie Pinnie, we like adorable food.

For those who are working with religious themes, Lynnie Pinnie has a variety of word art combinations based on Bible verses and religious themes. If John 3:16 is a favorite verse, Lynnie Pinnie has it available in a word art machine embroidery design file and in a vintage Colorwork Sketch file. Proverbs 3.5 is the Scripture quoted in Tribal Arrows word art applique. You can also find Psalm 139.14 in the same Tribal Arrows word art applique design. Finally, we have the Blessed Nation, Psalm 33:12 in an applique.

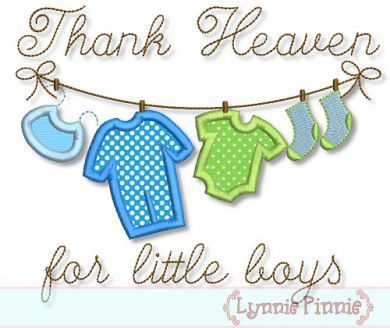
While we know that boys can like dolls and girls can play football, there are just some designs that seem to lend themselves more to one gender than another. If you’re looking for “boy” designs, Lynnie Pinnie has some cute ones on offer. The “Touchdown” football applique would be adorable on the shirt you make for your future quarterback or wide receiver. The “Bro” appliques for little brother, middle brother and big brother, would be perfect for a family portrait, or as a way to introduce a new sibling. And if you have recently had a new little boy arrive, the “Thank Heaven for Little Boys” clothesline applique could be the perfect decoration for his onsie.