Supplies needed:
- Purchase this font and other chenille fonts and designs HERE
- HTV: Heat transfer vinyl (Cricut brand iron on was used in this sample – available in many big box and craft stores). PEEL OFF PLASTIC CARRIER SHEET BEFORE STITCHING. Glitter and flocked vinyl are the easiest to tear away. We do not recommend smooth.
- Tape
- Your choice of embroidery thread, garment or blank, and appropriate stabilizer for your garment or blank. This is a dense font that you will need to stabilize well.
- Optional – vinyl weeding tool
- Optional – embroidery software. I used Embrilliance Essentials to set up my lettering, color sort my design, and print a template.


Let’s get stitching!
I hooped and stabilized my garment, and then stitched step 1, my placement stitch, in a color that closely matches the HTV.

Next, I laid the HTV over the placement stitch, making sure to cover all of the placement stitches. I used a bit of tape to hold it in place because the embroidery machine needle tends to lift and move the HTV. The HTV plastic carrier sheet has been removed.

The next step will be your tack down stitch. I used the same thread color again.
If you are stitching the larger faux chenille designs, stitches will go over the HTV to prevent bubbling so its important that your thread is a close color match.

After the vinyl was tacked down, I used my choice of thread colors for the letters and outlines.


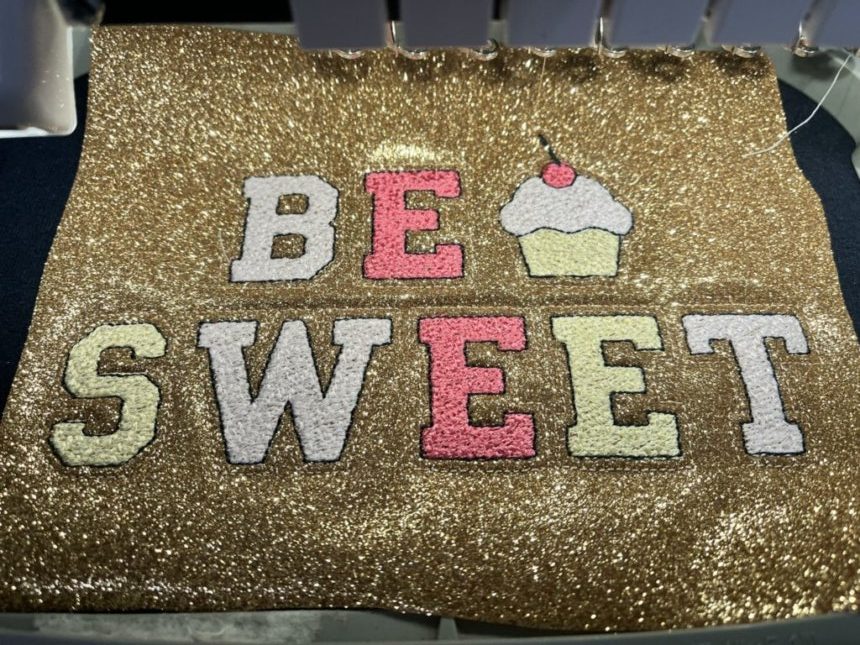
The final stitch will be an outline around the letters. Again, I used a thread color that matches the HTV.
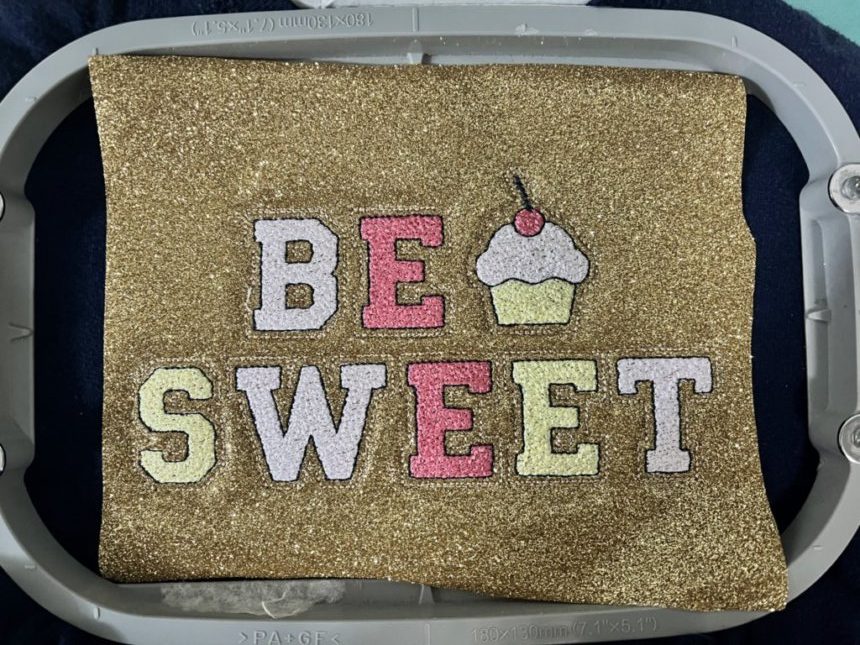
Now for the fun part!
Carefully peel away the excess HTV. You can use a vinyl weeding tool to help with small areas. If you stitch this font in a smaller size, like I did, you can leave the small areas that are inside the holes, for example, inside the letter “E”, or you can weed them out. It’s up to you!
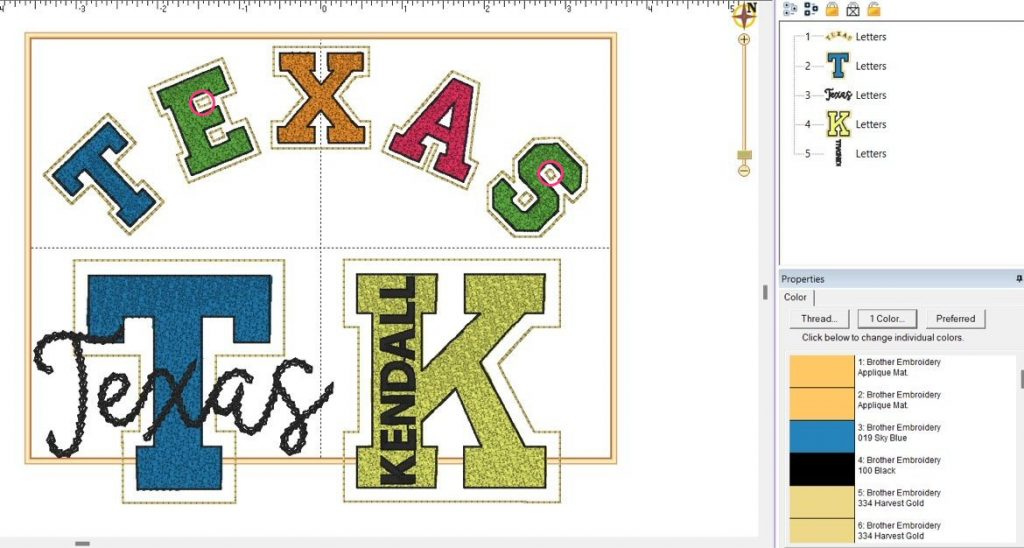
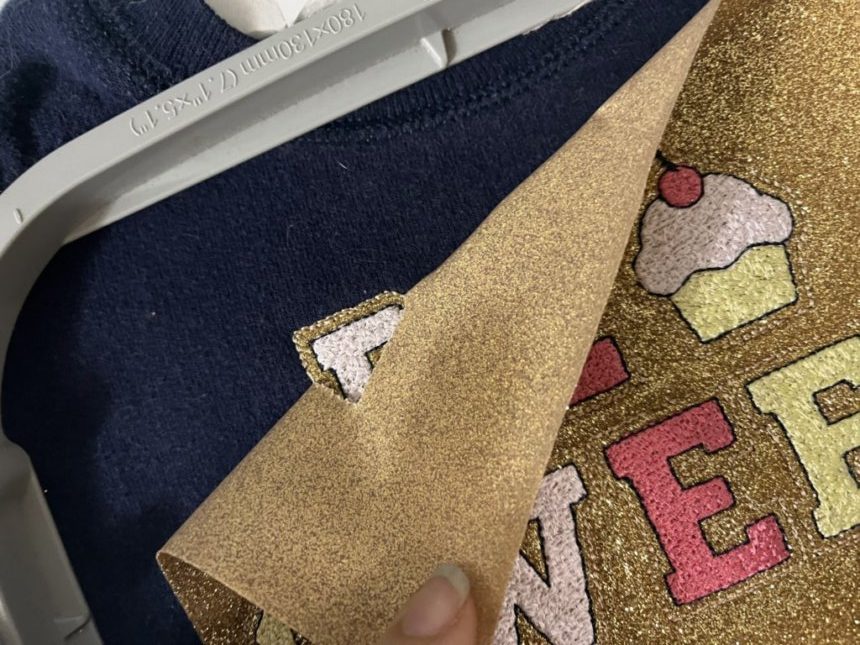
Final step – don’t skip this!
Once you have removed all of the excess vinyl, follow the instructions on the vinyl package to fuse the HTV to your garment or blank with a heat press or iron. USE A TEFLON SHEET OR PRESSING CLOTH TO PROTECT THE EMBROIDERY!

All done!

This font is such a great way to achieve a look that would be otherwise impossible (or at least VERY difficult) in a smaller size. Yes, it is a dense, higher stitch count design but personally, I would rather let the machine stitch this out than try to trim a piece of fabric this small with scissors. NO THANKS!


Feel free to Contact Us with any questions.
Happy Stitching!
