Fun With Fonts

If you’ve spent even a little bit of time on the Lynnie Pinnie site, you may have noticed we offer a lot of fonts. When I first thought about writing this post, I considered going into the history of fonts and how they’ve changed over the centuries, which led me to the history of printing, and the changes in how the printing process worked and the machines that were used and suddenly I was down a rabbit hole of learning about printing. It was interesting, but not exactly applicable to what we’re doing here. So, I decided, instead, to talk about the types of fonts Lynnie Pinnie offers, and where and why you might want to use them.

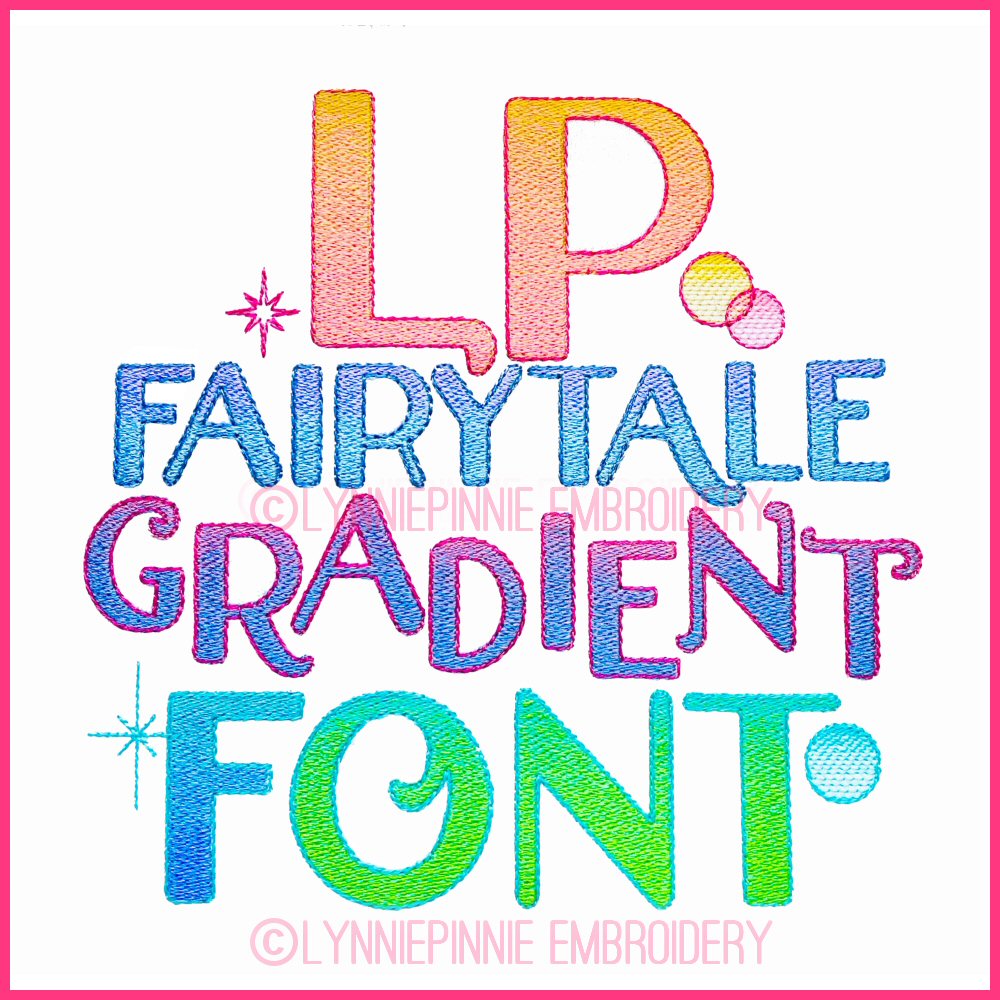
Let’s start first with the Native BX fonts. These fonts are scalable, object based fonts that can be resized without distortion using Embrilliance platform products. Lynnie Pinnie has, to our knowledge anyway, one of the more extensive collections of Native BX fonts, and a wide variety of selections within that one category. Whether you’re looking for something fancy (hello, gradient script font) or something simple like a chain stitch, we have you covered.

Next up we have our Sketch and Triple Run Fonts. A lot of these fonts look very similar to hand stitching. Most of you may already know this, but sketch fill has a lighter density and fill then a regular fill stitch. The fonts are designed to let a bit of the cloth show through. This is fun if you’re doing an applique with or embroidering on a piece of a amazing fabric and you want the pattern or color of the fabric to show through a little more. Some of my favorite fonts in this category include The Fighter Chain Stitch and the Whimsy Doodle font.

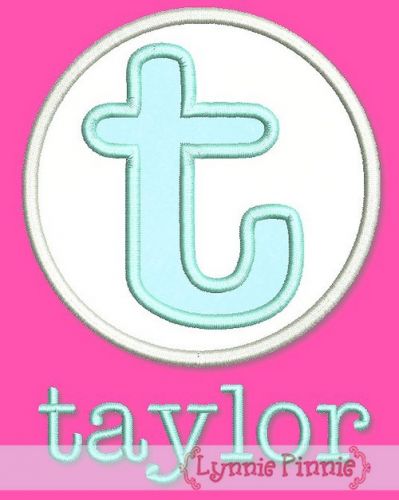
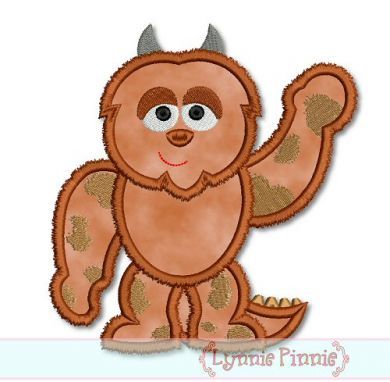
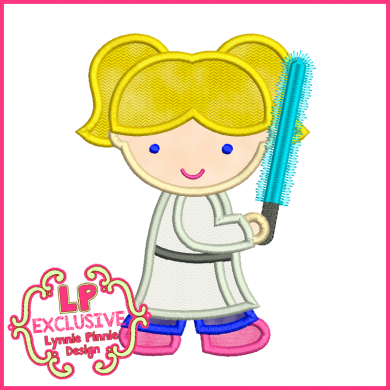
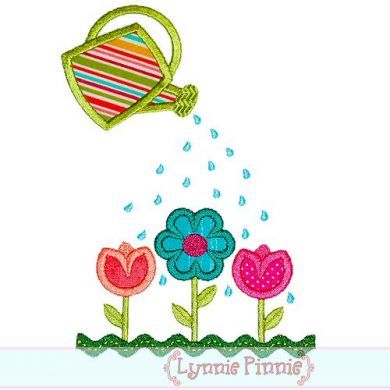
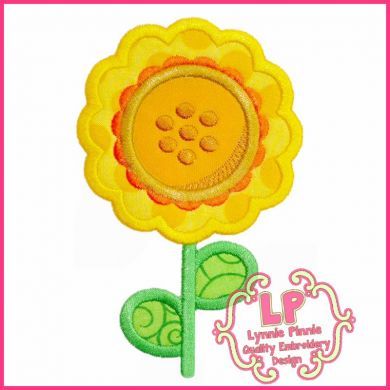
One of the things Lynnie Pinnie is known for is applique designs (the founder of Lynnie Pinnie is also the founder of Applique Getaway, after all) and applique fonts. These type of fonts, as the name implies, are fonts that are designed to be used as appliques. You can use these fonts for monograms, for birthday shirts, really for almost anything for which you’d use a stitched out font. The difference in these fonts is that they include fabric, which allows you to vary their appearance based on the type of fabric you use. The applique also gives a slightly more 3-D appearance and makes the font stand out a bit more. These fonts are a fun change of pace and allow you to do something a little different with lettering.

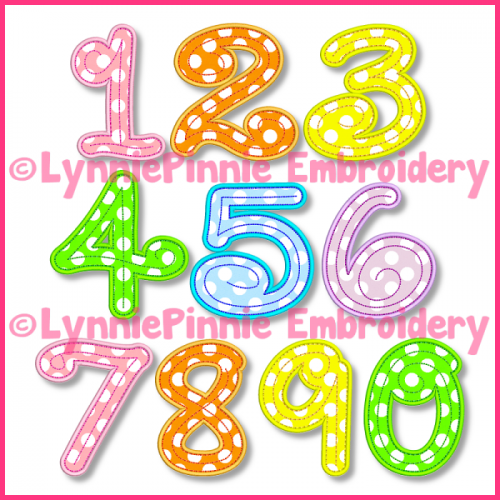
Finally, let’s talk about the number fonts. A lot of these are applique, which makes them perfect for use in the monthly pictures of new babies a lot of people now take. You’ve all seen those, where a baby is posed on a quilt or with pillows or something that shows their age so you can record the progress as the child grows. These number fonts are also great for embroidering shirts for the first day of school, creating a shirt for the birthday boy or girl, or even creating a cute team shirt for your little t-baller or soccer player. Most of these fonts are applique as well, so you have the chance to make them unique by varying the fabric.

Do What You Love

For all that everyone these days seems to be promoting the idea of doing what you love and being who you are, we all know there are also judgy people out there. Especially when it comes to something one group likes and another does not. It could be people who don’t get your love of dark chocolate, or horror movies, or anime. Maybe no one in your orbit understand your fascination with space or superheros or horses. It can be tough when you’re the only one sharing your passion.

At Lynnie Pinnie, we’re a judge free zone. We know that there are as many ways to love things as there are things to love, and we just want to give you the designs that help you celebrate the things that resonate with you. Whatever your passion, or the passion of the little (or big) one who might be wearing or using what you make, we have a design for that.

Say monters are your thing. You love the jump scare, and horror movies where the monster shows up when least expected and scares everyone to death. Or maybe you’re totally in love with Monsters, Inc. and just want to huge Sully or maybe dribble Mike a few times. We get that too. Whether you like your monsters adorable and a little silly or more on the scary side, we’ve got a design to suit your needs.

Maybe you’re really into sci-fi and you know all the Star Wars trivia there has ever been or ever will be. Since you loved it so much, you introduced it to your daughter, and now she wants to be a Jedi when she grows up. You may not be able to give her an actual lightsaber, but you can embroider one on a t-shirt for her. It may not make the right sound when swung, but it will still look cool.

Could be you’ve always had a green thumb and your garden is your happy place. You love growing beautiful flowers or tasty veggies, and can’t wait to get outside and play in the dirct once the growing season starts. Whether it’s pumpkins or petunias, we have a variety of nature themed designs to be added to shirts, tote bags or garden aprons. Your love for gardening will be blooming all over your clothes.

Finally, since we’re talking about things we love, I couldn’t resist a plug for Applique Getaway, an entire show built on the love of applique, embroidery and other decoration disciplines. If you want to meet your tribe and spend time with people who geek out over designs, thread and the cool things you can do with them, as much as you do, AG is the place to be. Registration is now open, so come join us!

Choosing the Right Stabilizer

The correct stabilizer can have a huge impact on whether or not a job succeeds or fails. Of course, we all know that specific embroiderer who only uses one type of stabilizer for every job regardless of fabric or design, and does well. In most cases, however, a the right combination of stabilizer, fabric and design is necessary for embroidery to proceed smoothly and for the finished product to look its best. Choosing the correct stabilizer can make your production faster, your sew-out run more smoothly and your finished product look better. Because the decision of which stabilizer to use for a particular job can have such an impact, it seems only right to provide some tips on how to choose.

Let’s start with the types of stabilizer. At the most basic level, your choice will involve either cutaway or tearaway stabilizer. Even if you choose a specialty stabilizer for your project, it will most likely fit into one of those two categories. Because of this fact, knowing when and why you might want to use a particular type is crucial.

We’ll start with tearaway stabilizer. This type, as the name implies, tears away, so it is often easier and faster to remove. If you have a job with time constraints, where cutting away a stabilizer might take too much time, tearaway stabilizer may be a good option.

Cutaway stabilizer, as a general rule, has less stretch to it than tearaway, which makes it the preferred option for performance wear or other types of stretchy fabrics. Cutaway stabilizer may also be a good choice for delicate fabrics when pulling hard enough to tear a tearaway stabilizer away would perhaps cause damage to the fabric itself.

Your choice of stabilizer should take into account the following things:

  • The qualities of the fabric
  • Requirements of the design
  • Time available

The right stabilizer choice should improve both your sew-out and your production time, as well as reducing the amount of effort and time needed to make the final product look its best.

The second thing to consider is stabilizer weight. No one likes the look of a stitch-out that is extremely stiff or weighed down with a huge wad of backing. The general rule is that light weight fabrics should be stabilized by a light weight stabilizer, and heavier fabrics with a heavier stabilizer. The ultimate goal is to find a stabilizer that will stabilize the stitch-out without weighing down or distorting the fabric.

Don’t neglect the fact that the selection of a stabilizer can have a huge impact on how the design works. Specialty stabilizers are designed to work in particular situations and with particular types of fabric, so don’t pass over those options when selecting a stabilizer to use. A specialty stabilizer can have a great impact on how well a design runs and the appearance of the design when it is completed. Some specific specialty backings that should be considered in specific situations include:

  • Poly Mesh (Also called No Show Mesh) can be a useful option for polos and lightweight fabrics.
  • Fusible Poly Mesh (Also known as Cloud Cover) is useful for covering the back of an embroidered design to avoid scratching sensitive skin. It can also be useful for mitigating the stretching of performance wear.
  • R2000 (Also known as Action Back) (a polypropylene stabilizer) is designed to work with performance wear and to counter the problem of stretching.
  • Adhesive stabilizer (Also known as Sticky Back, Sticky or Peel N Stick) is useful for items that are too small to hoop on their own. It can also be used with performance wear to counter the stretching of the fabric.
  • Water soluble topping (Also knows as Solvy or cutaway/washaway) can be used as a topping or a backing. Water soluble can help monograms and other embroidery stand out on fleece or towels. Badgemaster is a useful option for patches. Cutaway/washaway is the perfect option if you want to make freestanding lace.

As has been noted previously, some embroiderers can go their entire careers and use only one type of stabilizer, and that may work for some people. The question is, why would you resist using all the options available? Specialty stabilizers have a variety of functions and qualities that may contribute to the smoother running of your jobs and faster production times. They can also offer the possibility of a higher quality finished design. It is true that the cost of some of the specialty stabilizers may be slightly higher, the end result will be well worth the slightly higher expense.

Stabilizer is the foundation on which everything else contained in an embroidery design is built. Just as you wouldn’t build your house on a quicksand or a volcano, don’t build your embroidery with a stabilizer that can’t stand up to the requirements of the job. Choose your stabilizer with care and after giving thought to the requirements of the fabric and the stitch-out. Taking the time to make an informed and educated decision will ensure that your final choice will be a stabilizer that can meet the requirements of your design and product schedule.

3 Summer Fashion Trends

We all know trends change. What was fashionable last year, may not be fashionable this year, and that’s just something with which we have to roll. Also, being fashionable isn’t something that concerns everyone. Some people are just comfortable going with the tried and true or classic option. Still, fashion can be fun, and keeping up wtih the trends can add some interest and spice to your wardrobe. Adding a trendy piece of decoration can also help upcycle a piece of clothing that may be from seasons past. While Lynnie Pinnie isn’t ncessarily about fashion, we do have some designs that will help you keep up with the trends for Summer 2023.

Florals – Floral patterns and floral motifs are big for Summer 2023. Some are even taking a three dimensional role. If florals are your thing, Lynnie Pinnie is more than prepared to help. Whether it’s an appliqued sunflower or a monogram frame with a perfect rose, we have options for you when it comes to floral designs.

Heart Motifs – They say home is where the heart is, but this summer fashion seems to be where the heart is as well. Heart motifs are popping up on everything, as part of fabric design or added to hemlines. They appear to be particularly popular on dresses. Luckily, if you want to put your heart into your work (see what I did there?) Lynnie Pinnie has you covered with a variety of heart designs.

Mermaid Theme – The live action “The Little Mermaid” coming out this year seems to have inspired an interest in mermaid style clothing. Either in the design or the decoration of the clothing. Lynnie Pinnie has long been a fan of the mermaid and has a variety of designs that will allow you to add a mermaid theme to any piece of clothing. Whether you want a mermaid princess or a mermaid themed monogram frame, we have you covered.

How to Photograph Products

A good product photograph may be one of the greatest selling tools you have, but getting a good photograph isn’t always as easy as we want it to be. Lighting plays a role. Staging plays a role. There are so many factors that go into not just making a photograph good, but making it one that sells a product. If you’re working to photograph your work for your business, here are some tips to help you get the best photos possible.

First up, keep in mind that it is possible to get a good, usuable product photo from a smartphone, if your smartphone has a good camera. If you plan to use your phone to take product photos on a regular basis, it’s wise to do research on cellphone cameras before you buy your phone. According to Digital Camera World, in 2023, the cellphone brands with the best cameras are Google Pixel 7 Pro, the Samsung Galaxy S23 Ultra, and the Apple iPhone 14 Pro. If you want to take product photos with your phone often, it’s best to invest in one with the best camera that you can afford.

Next, whether you’re using a smartphone or a digital camera, invest in a sturdy tripod. While we all want to think we can hold things perfectly steady, that isn’t always the case. A tripod eliminates any wiggle or shake, even the most miniscule one, and ensures that you’ll have clear, in focus, blur free product photos every time. You can find a mini tripod on Amazon for $20 or less.

Once you have the method for taking the picture set, it’s time to stage your photo. What this means, essentially, is that you’re building the story you want your photo to tell. First, have a good neutral backdrop, which won’t interfere or compete with the product you’re showcasing. Next, build your atmosphere. Include the props you want to use, which should also be designed to be complimentary to and to showcase the main product. If you’re showcasing a baby onsie, maybe you have stuffed animals in the picture, or a baby carriage. If it’s embroidered rain boots, maybe you have an umbrella. The idea is to help set the scene in the viewer’s mind and get them thinking about how they’d use the item you’re showcasing.

It is important to have good light for your photos. Moody lighting has its place, but you want to avoid having photos that look dark, or photos that are so bright everything looks washed out. Your best bet, if possible, is to shoot in a room with lots of natural light. This 6 step tutorial from Shopify should help you use natural lighting for your product shots.

Keep in mind that shooting photos from different angles can help your customers get a full overview of the product. Generally, there are five angles that are useful. Eye level is looking straight at the product. High angle shows the product as if you were looking down at it from an angle. Low angle is the view as if you were looking up from the floor. Bird’s eye, as the name implies, is the view as if you were flying overhead. Lastly, slanted shows the product from one side.

Finally, remember that you can do a lot to create great photos with editing. You can color balance, add brightness, crop out items you don’t want or need and use a variety of other editing tricks to improve photos. If you’re a novice when it comes to editing pictures, this article may give you some useful tips.