Native BX Fonts

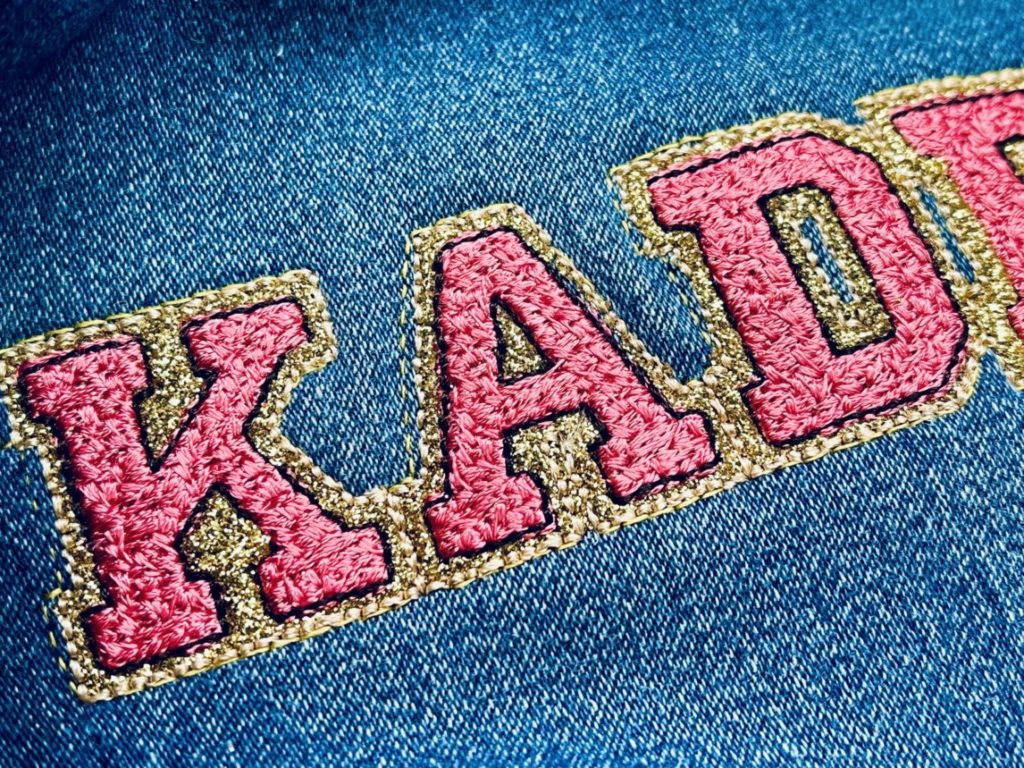
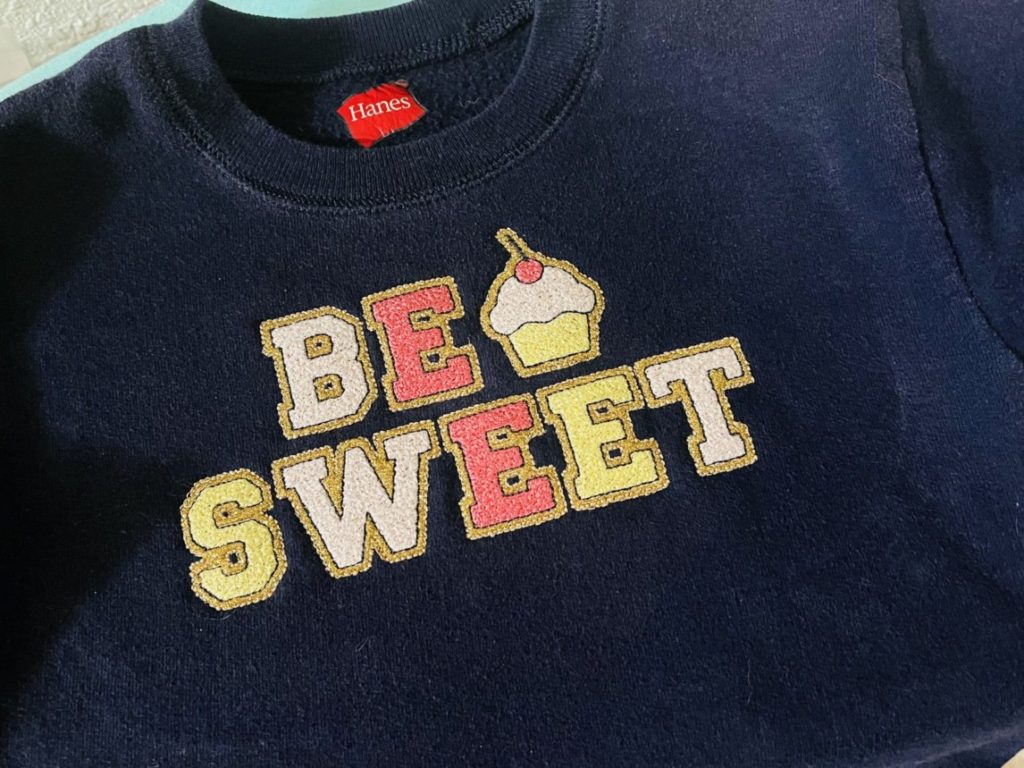
If you’ve been around Lynnie Pinnie for any length of time, you may have noticed we like a Native BX font around here. In fact, Lynnie Pinnie may have one of the most extensive collections of Native BX fonts available. Lyndsie Salcido, Lynnie Pinnie’s owner, has become expert in designing these sorts of fonts and there are some reasons for that.

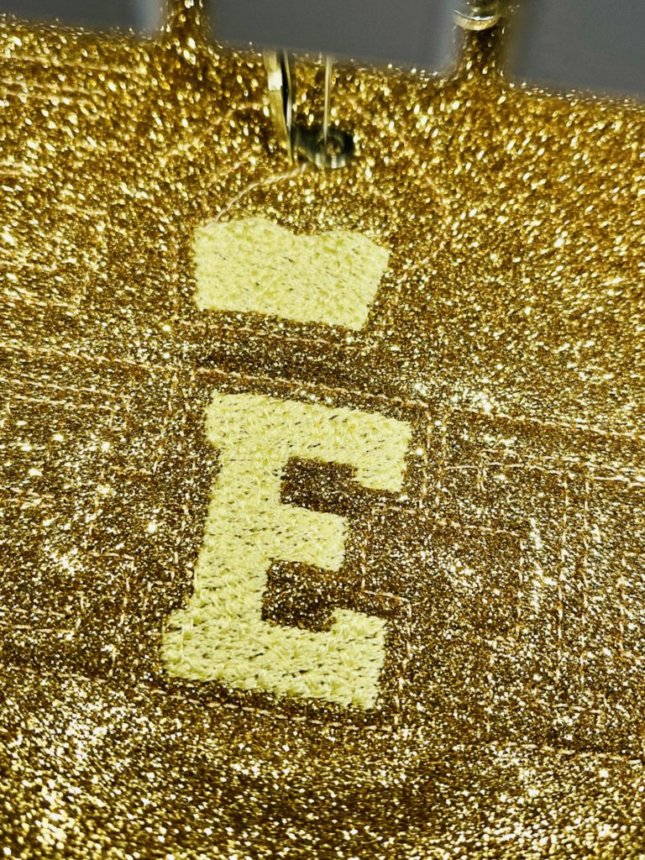
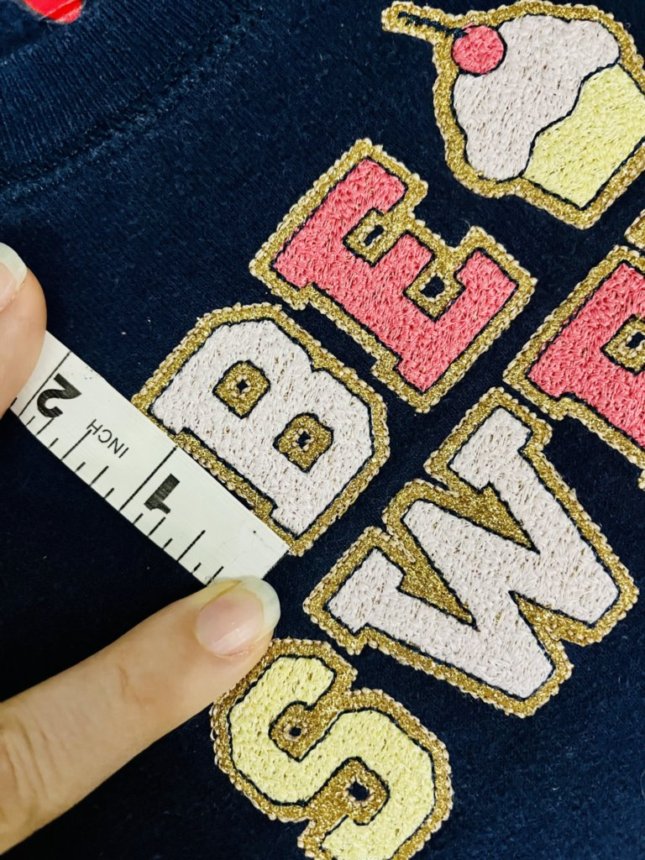
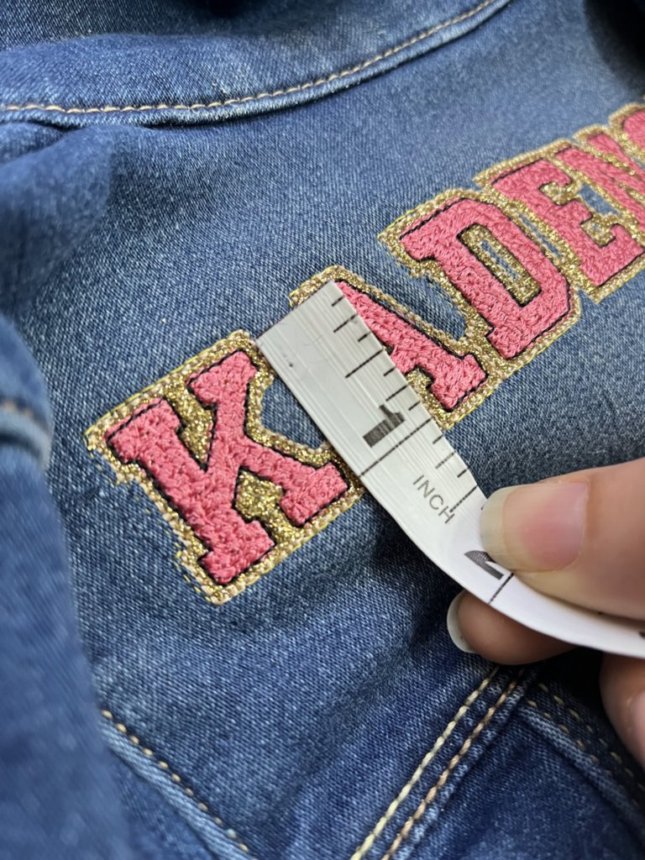
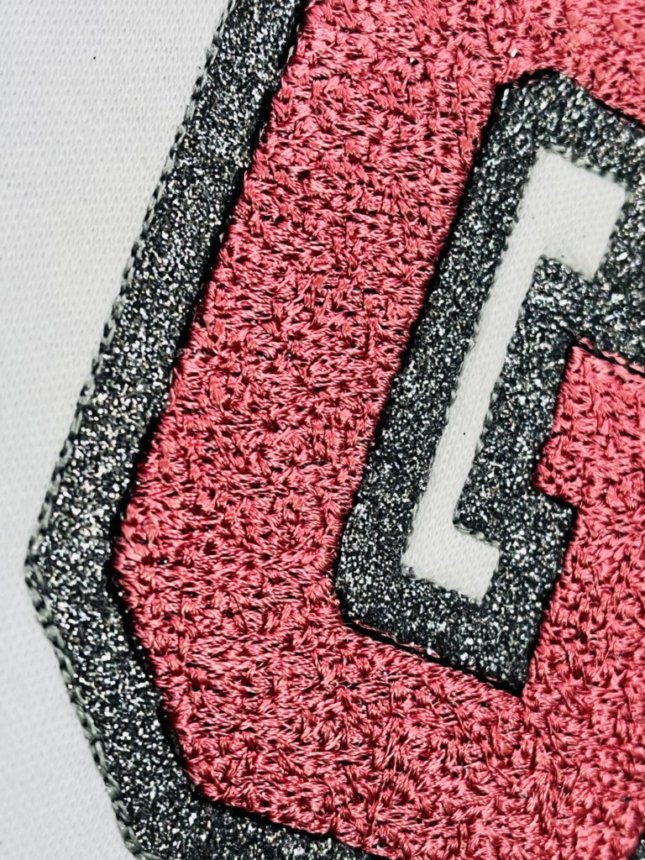
One big reason we love these fonts is that Native BX fonts can be resized without losing their original properties or integrity. If you try to resize a regular font, the software you’re using will do its best, but there may be distortion. Stitch lengths may become longer, and stitch type may be distorted as well. With Native BX fonts, you can size up or down and the properties that were designed into the font stay the same.

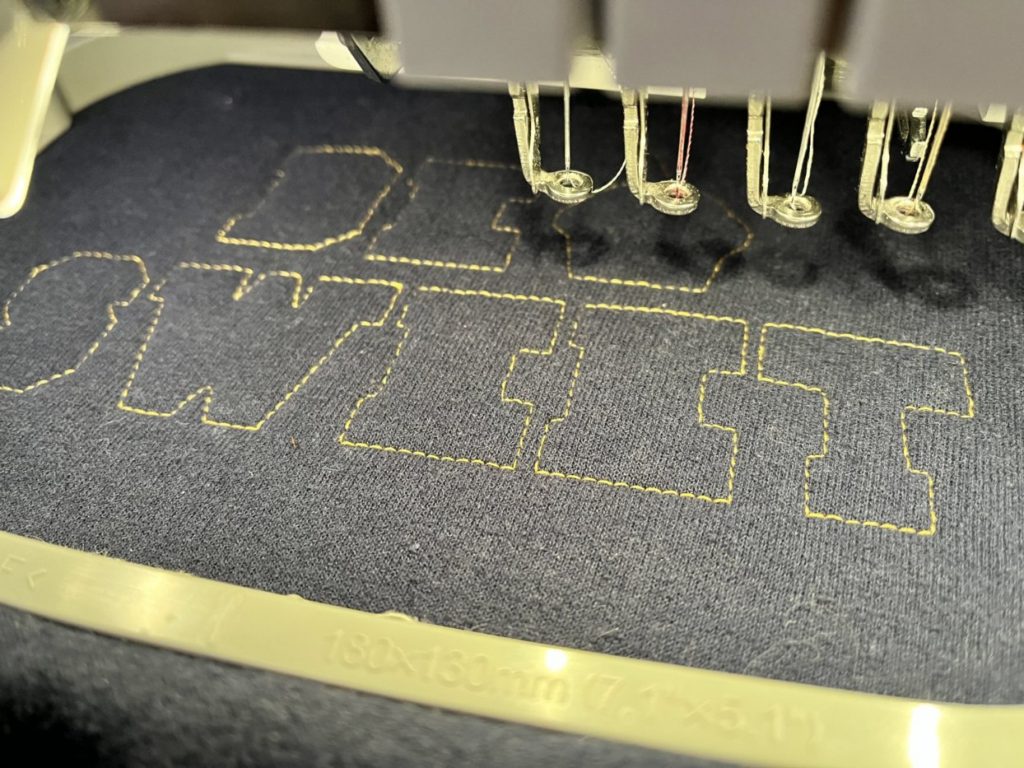
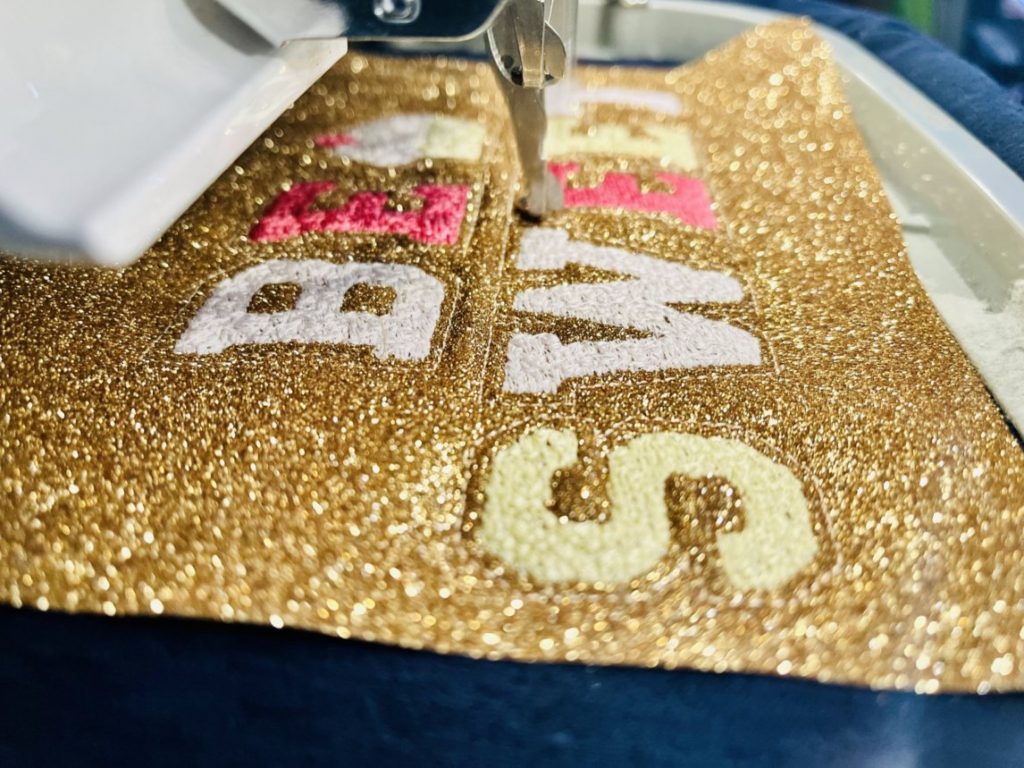
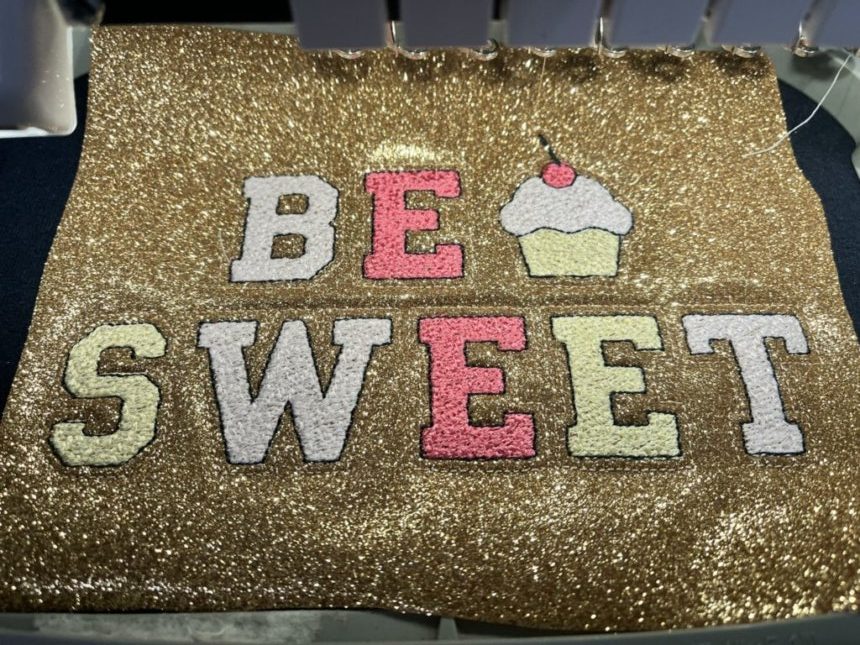
Another great thing about the Native BX fonts is the “nearest point” option, which moves the starting and end point between letters so that the font stitches without any jumps in between. If you’ve spent tons of time cutting jump stitches off a finished piece, then you already know what a time saver a function like this can be.

As Lyndsie explains it, in a video she made about Native BX fonts, the Native font speaks the same language as the software in which it was created, Stitch Artist, by Embrilliance. Because if this, when you bring the font into another Embrilliance program, the two understand each other. If, on the other hand, you’re bringing in a stitch based file, you’re using Google translate. The software will do its best, and you might end up with a decent result, but you also might end up with a garbled mess.

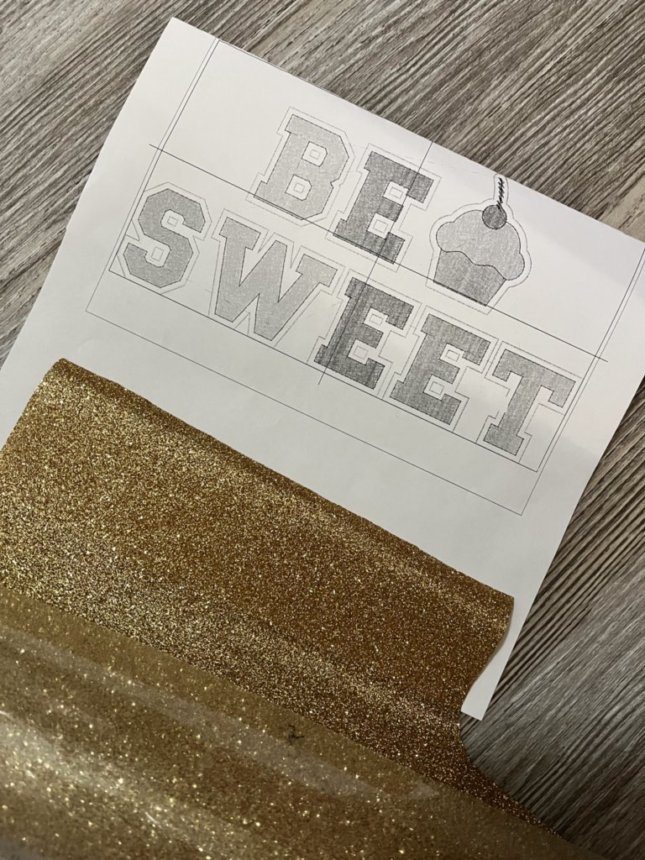
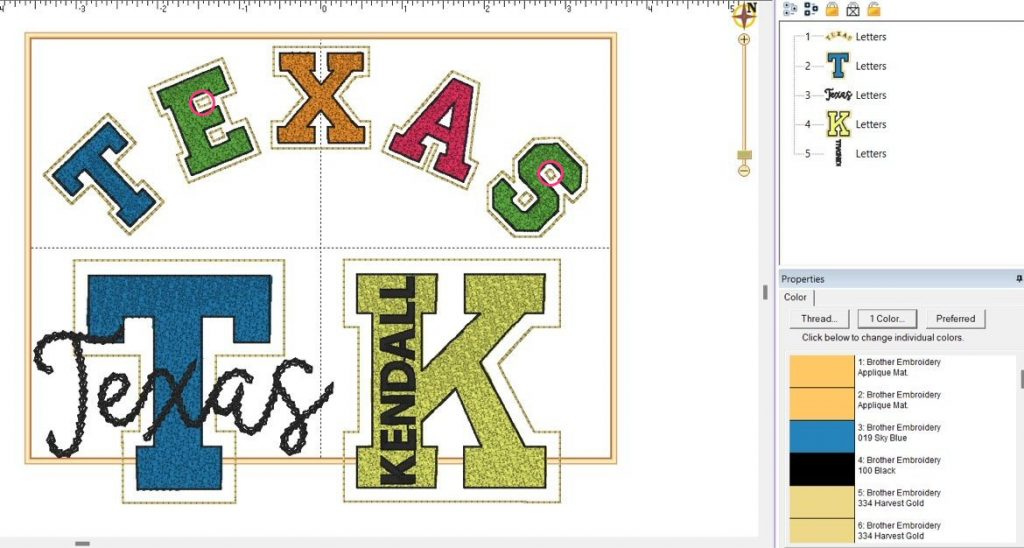
Another fun option for use with BX Fonts is the envelope function. The envelope function allows you to curve text and keep the letters and spacing in relation to each other and also resize. This is different than just using a curve function and provides a slightly different look. Lyndsie provides another helpful video explaining this function.

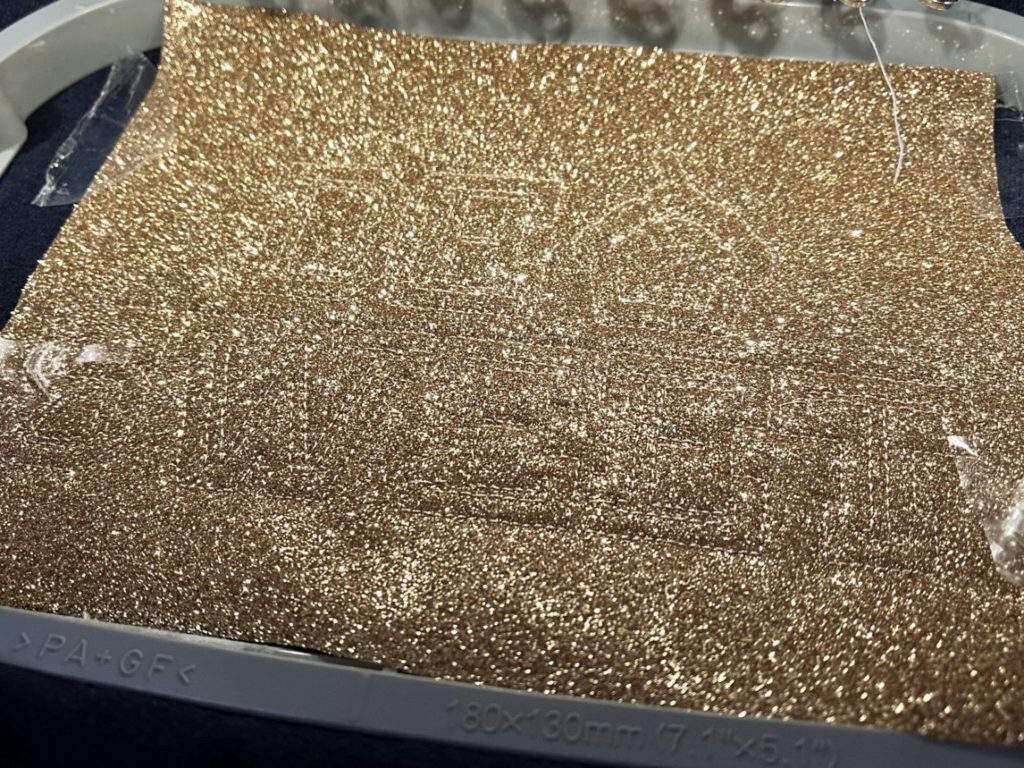
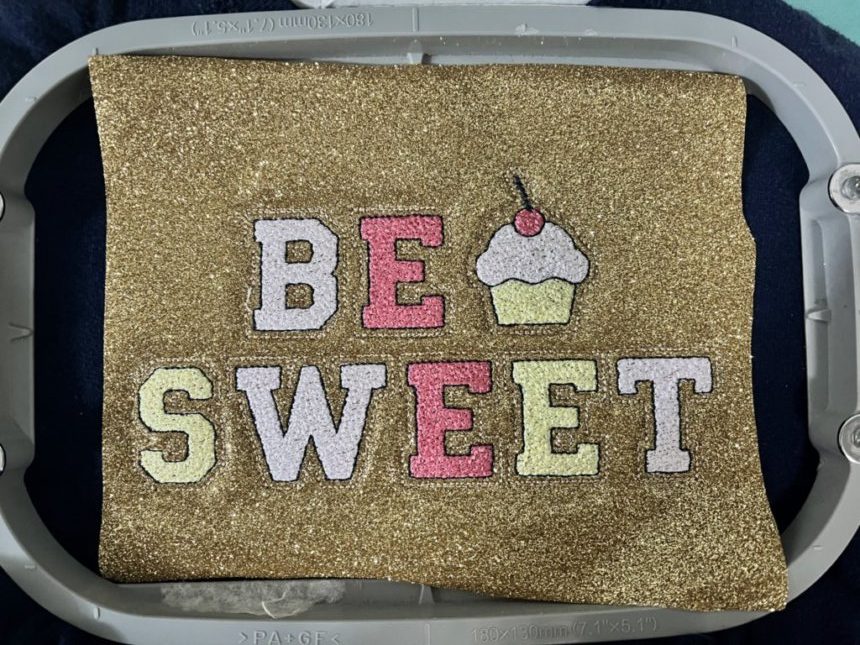
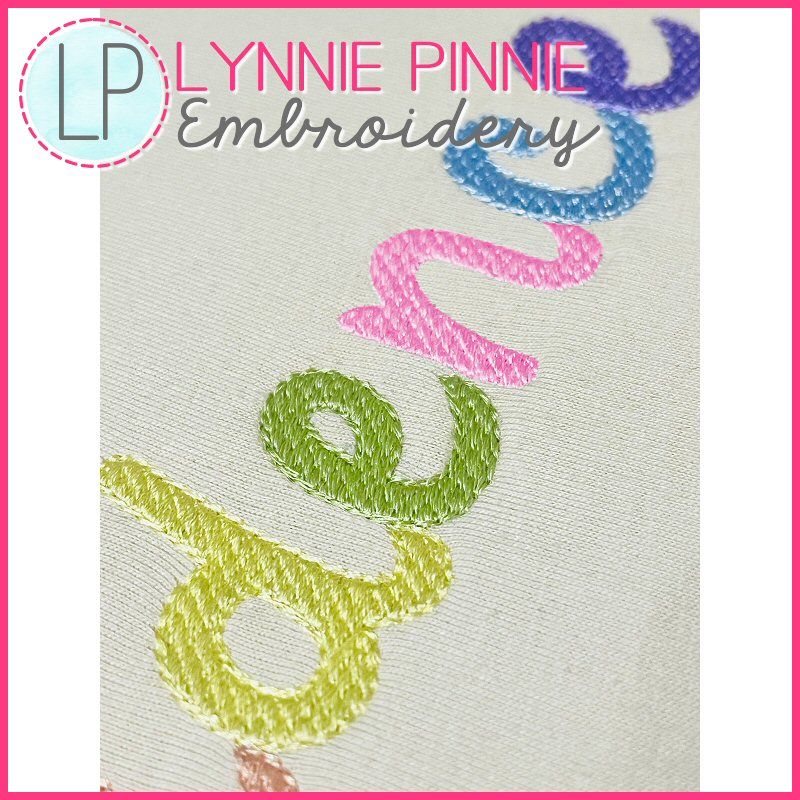
If you’re not familiar with Native BX fonts and are wondering what they are, native fonts are object based, rather than stitch based, which means you only need a single font to cover all the sizes within the recommended size range. Native fonts resize cleanly, sizing up and down without distortion or adding extra or odd stitches. These are fonts that have been natively designed in Embrilliance Stitch Artist.

Check out the extensive collection of Native BX fonts at Lynnie Pinnie. Learn more about Native BX fonts on the Lynnie Pinnie YouTube channel.

How to stitch Lynnie Pinnie Faux Chenille Fonts and Designs

Supplies needed:

  • Purchase this font and other chenille fonts and designs HERE
  • HTV: Heat transfer vinyl (Cricut brand iron on was used in this sample – available in many big box and craft stores). PEEL OFF PLASTIC CARRIER SHEET BEFORE STITCHING. Glitter and flocked vinyl are the easiest to tear away. We do not recommend smooth.
  • Tape
  • Your choice of embroidery thread, garment or blank, and appropriate stabilizer for your garment or blank. This is a dense font that you will need to stabilize well.
  • Optional – vinyl weeding tool
  • Optional – embroidery software. I used Embrilliance Essentials to set up my lettering, color sort my design, and print a template.
Heat Transfer vinyl. You will need to peel away the plastic carrier sheet before stitching.
My printed template and heat transfer vinyl with carrier sheet peeled back.

Let’s get stitching!

I hooped and stabilized my garment, and then stitched step 1, my placement stitch, in a color that closely matches the HTV.

Next, I laid the HTV over the placement stitch, making sure to cover all of the placement stitches. I used a bit of tape to hold it in place because the embroidery machine needle tends to lift and move the HTV. The HTV plastic carrier sheet has been removed.

The next step will be your tack down stitch. I used the same thread color again.

If you are stitching the larger faux chenille designs, stitches will go over the HTV to prevent bubbling so its important that your thread is a close color match.

After the vinyl was tacked down, I used my choice of thread colors for the letters and outlines.

The final stitch will be an outline around the letters. Again, I used a thread color that matches the HTV.

Now for the fun part!

Carefully peel away the excess HTV. You can use a vinyl weeding tool to help with small areas. If you stitch this font in a smaller size, like I did, you can leave the small areas that are inside the holes, for example, inside the letter “E”, or you can weed them out. It’s up to you!

Examples of small areas are circled in pink. Leave them or remove them – your choice!
Excess vinyl pulls away, no scissors or trimming required!

Final step – don’t skip this!

Once you have removed all of the excess vinyl, follow the instructions on the vinyl package to fuse the HTV to your garment or blank with a heat press or iron. USE A TEFLON SHEET OR PRESSING CLOTH TO PROTECT THE EMBROIDERY!

All done!

This font is such a great way to achieve a look that would be otherwise impossible (or at least VERY difficult) in a smaller size. Yes, it is a dense, higher stitch count design but personally, I would rather let the machine stitch this out than try to trim a piece of fabric this small with scissors. NO THANKS!

The stitches lie flat – the faux chenille look is achieved with a unique stitch pattern.

Feel free to Contact Us with any questions.

Happy Stitching!