When you ask people about LynniePinnie designs, the words you hear used to describe those designs are words like “adorable” or “whimsical” or “magical”. While it’s true that the designs are adorable, and whimsical, and magical, there also many more reasons why purchasing a LynniePinnie design is a good idea.
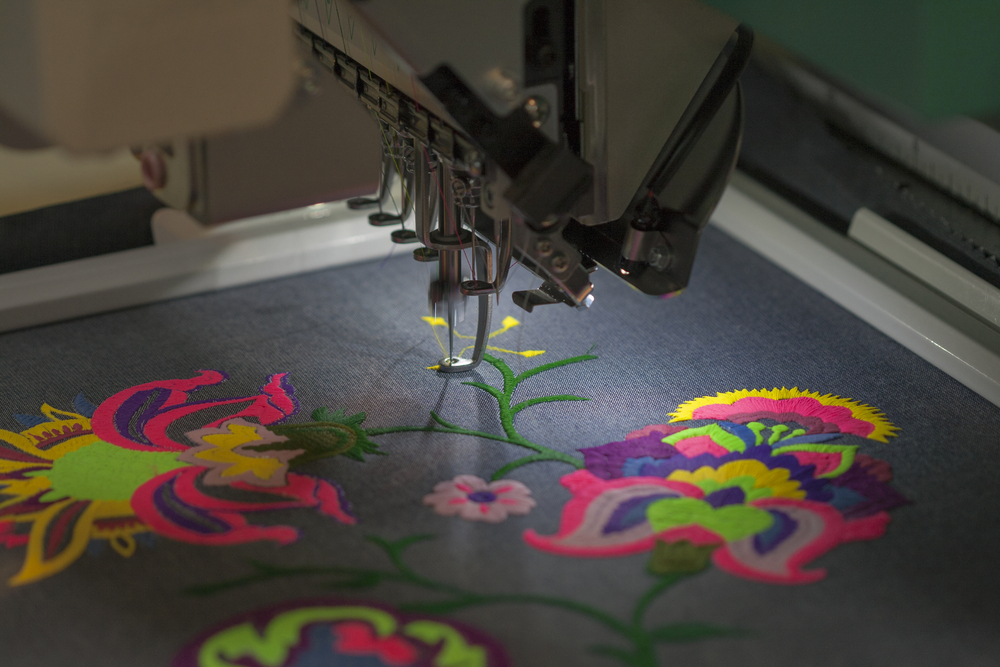
Reason #1: LynniePinnie Knows Embroidery – Lyndsie Salcido, the designer behind LynniePinnie began as an embroiderer. She knows how to run a machine. She understands the despair of your thread or bobbin running out before the design is finished stitching. Lyndsie has experienced the pain of poorly digitized and conceived designs that stitch out slowly or are sloppy in execution. Because she’s run an embroidery business, she understands that designs need to work, so that the machine can run and profit, or a cute gift for a friend or family member can be made.
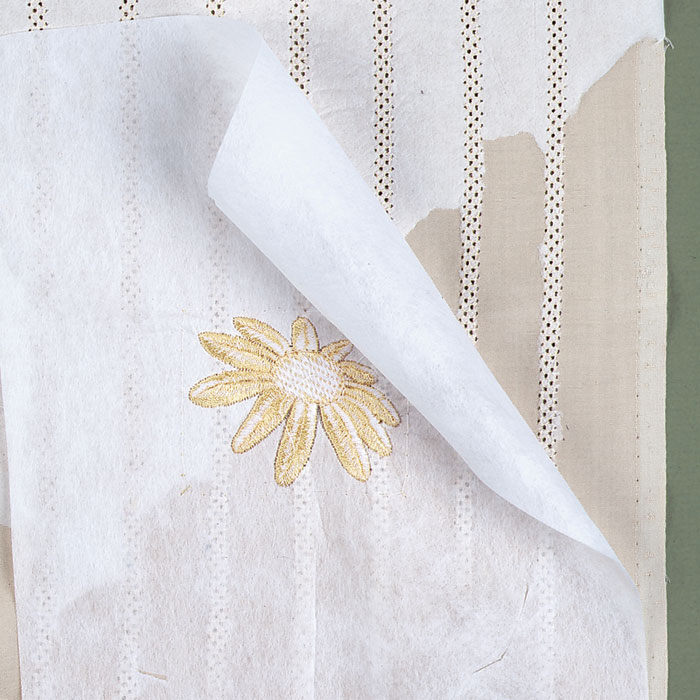
Reason #2: LynniePinnie Knows Materials – One of the not so well kept secrets of embroidery is that thread and stabilizer and fabric and design all come together in a marriage that will hopefully create an attractive finished piece. Part of the work of being a good digitizer is understanding how all the separate parts come together and interact. The weight of the fabric matters. The weight of the thread matters. The type of stabilizer used can have an impact. Digitizers who understand more than just how the stitches will be stitched into the substrate are digitizers who will create designs that will run more smoothly and much faster.
Reason #3: LynniePinnie Knows It Matters – When you buy a design, whether it’s something you plan to use on a garment you’ve sold to a client, or if you’re making a new shirt for your daughter or son, you want that design to sew out cleanly and smoothly without errors or issues. Thread breaks, excess stitches, sloppy digitizing that results in a sloppy finished product, all those things waste your time, your supplies and your money. Creating designs that are well digitized takes effort and time, but the end result is a design that sews out how you want it to, when you want it to, and that’s what’s important. Yes, it takes more effort on LynniePinnie’s end, but it puts a better finished product in the hands of our customers, and that’s what counts.
Reason #4: LynniePinnie Knows Creativity – Resting on your laurels is for those who aren’t always trying to be better today than they were yesterday. Lyndsie is continually trying new processes and developing new designs and projects to take machine embroidery to the next level. The goal is always to stay current and to improve on what has come before. LynniePinnie also strives to find new ways to enhance the process of machine embroidery. Same old/same old will never do here. We want to stay on the cutting edge of decoration techniques and embroidery trends, and we make an effort to do so.
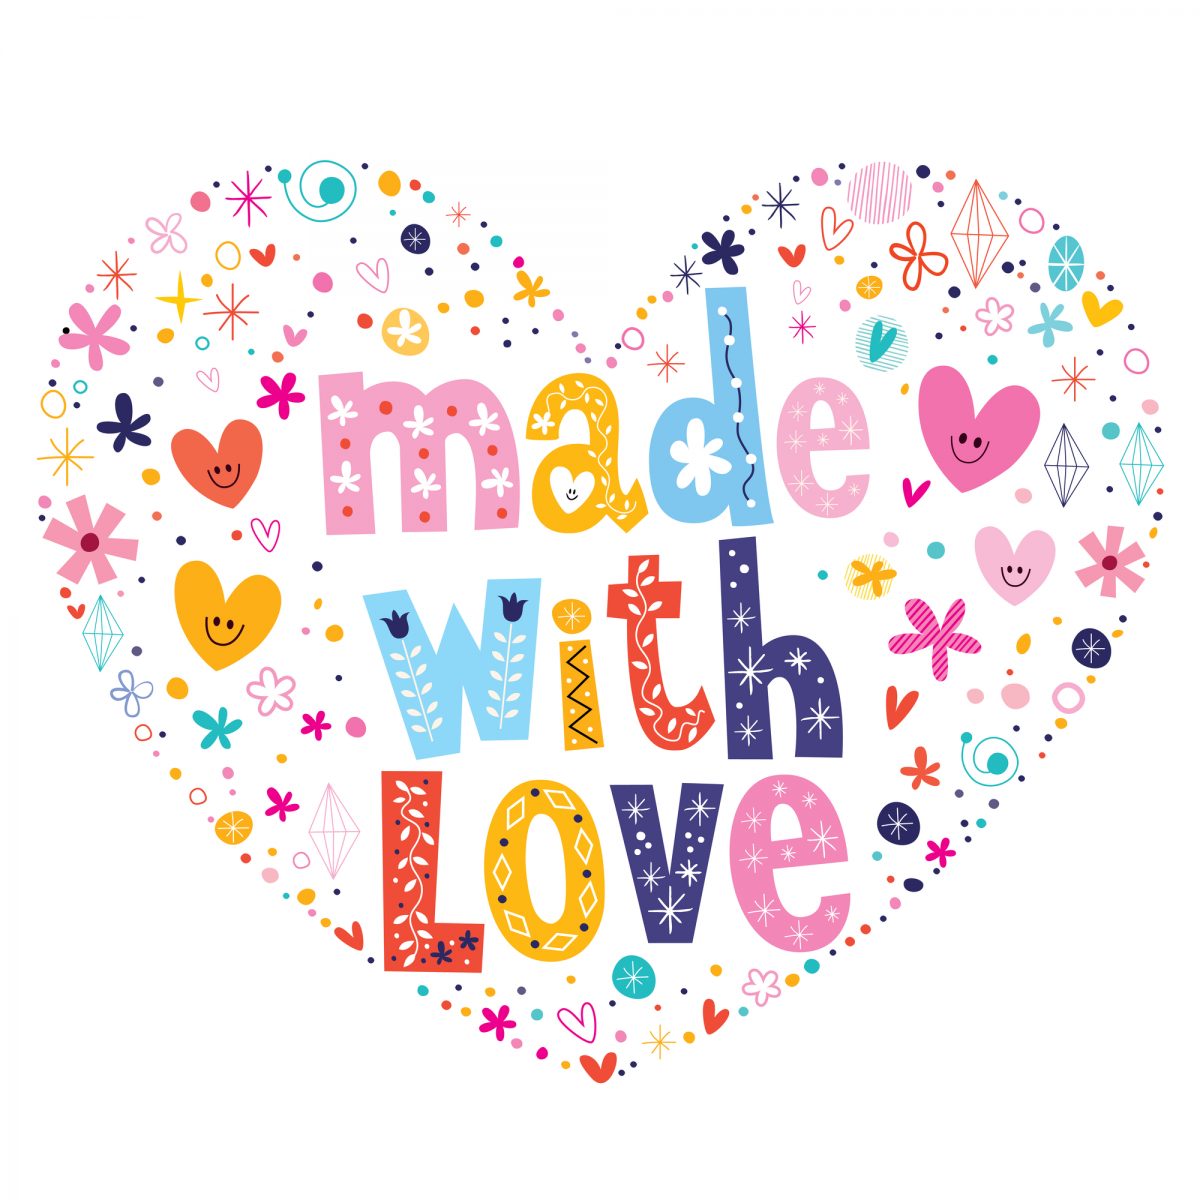
Reason #5: LynnniePinnie Loves Digitizing (And Our Customers) – The art and craft of digitizing is not for everyone. It requires a pretty specific skill set. For our designer, Lyndsie, creating a new design is both a challenge and a labor of love, and the designs reflect that love. There’s no sloppiness, no cutting corners, no work that we can’t be proud to offer to you, our customers. Yes, the designs may sometimes cost a little more, and yes, design releases may take a bit more time, but the end result is well worth the effort and the money. While we don’t, as some creatives do, put a “Made with Love” label on each design we sell, the love is still there, in the effort put in to creating the design, and in the care that is taken to make sure the design works at the highest level to meet our customers’ needs.